So, just to recap, I was working - at long length - on getting the cab into some sort of acceptable level of completion...
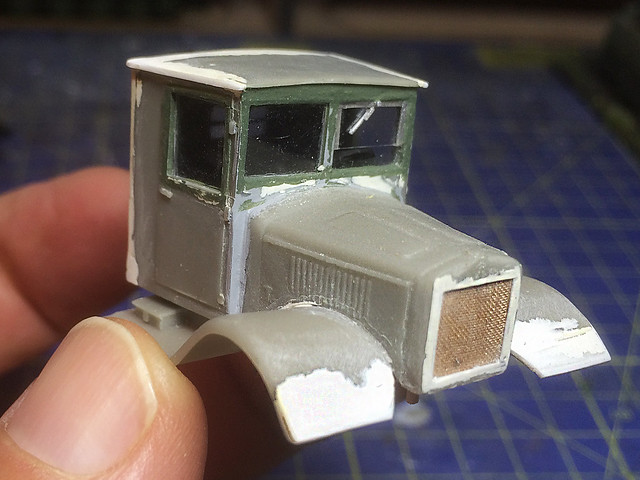 |
| Note that I opted to remove Zebrano's original grille texture and replace it with some nicer mesh material. |
 |
| Aside from the obviously ill-fitting cab the shape of the fenders are suspect, as is the placement of the headlamps. My research points to the lamps being fixed to the front of the chassis just behind the bumper. Neither have they opted to include the distinctive driver's split windscreen. |
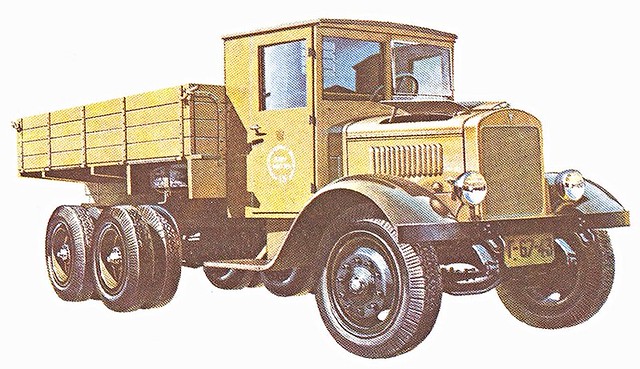 |
| A rather nice illustration of the Yag-10 truck which serves to illustrate some of the inaccuracies in the Zebrano kit. However, this appears to be an early variant with nicely rounded fenders, at some point Yag seem to have replaced these with flat ones. |
It's quite astounding that this is a publicity shot done by Zebrano themselves. Even at my modest level of modelling expertise I think I could make a better job. It doesn't really do much to sell the kit to a potential model maker, especially at the asking price! (Unfortunately I hadn't seen this photo before I bought the kit.) Anyway...Let's put the Zebrano bashing to one size and move on...
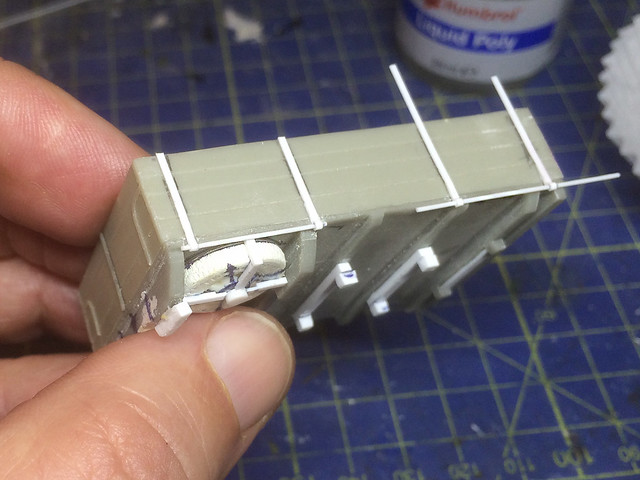
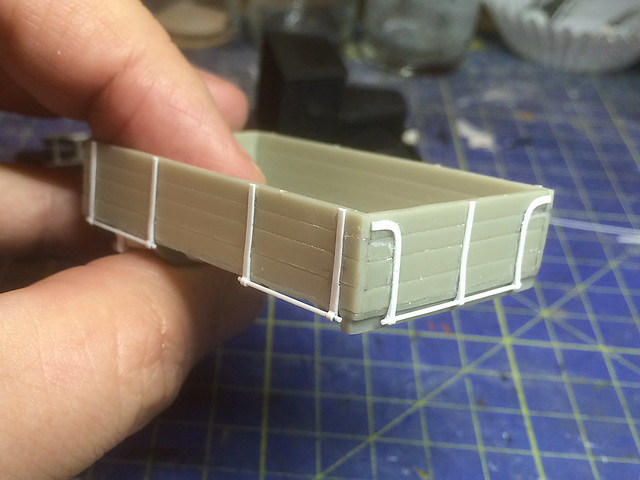
One of the annoying faults with the Zebrano kit was the missing flatbed hinges - these are the long rod-like hinges which allow the cargo-bed sides to drop down to allow easy loading. Of the five hinges that should have been part of the cargo-bed components all but one had broken off and mysteriously disappeared.
So, using the one remaining hinge as a template I had to make some simple replacement parts...
 |
| The hinge on the left is finished, the one on the right needs trimming down to size. |
 |
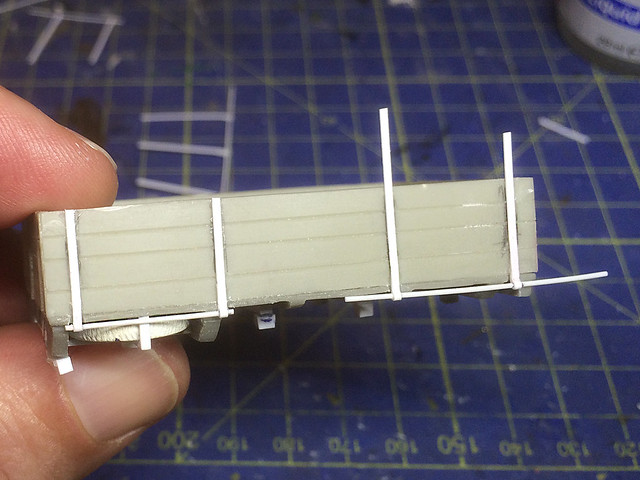
| Here's just a quick shot which showsthe amount of additional work that I ended up doing to the cargo-bed in total. The Grey is the original Zebrano resin kit, the white is the repairs, modifications and additions I have made. |
 |
| The finished hinges. Not brilliant but about in keeping with the level of detail on the rest of the Zebrano model. |
The next job was to start base coating/priming the model. I have decided to start with a black primer for a change as a lot of people swear by this method and I thought I'd try out a top coat of Vallejo's 'Russian Green' airbrushed over this.
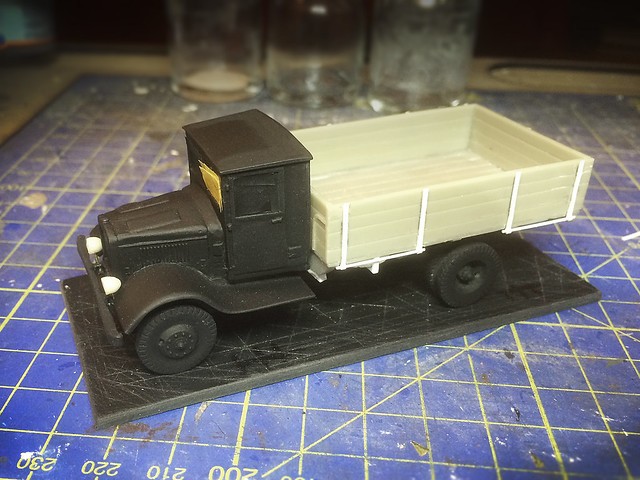 |
| As usual priming makes a model look neater. Hopefully painting will help improve what is a mediocre model. We shall see. |
No comments:
Post a Comment