 |
| Source: 'Engines of the Red Army' web site. Source: © www.o5m6.de |
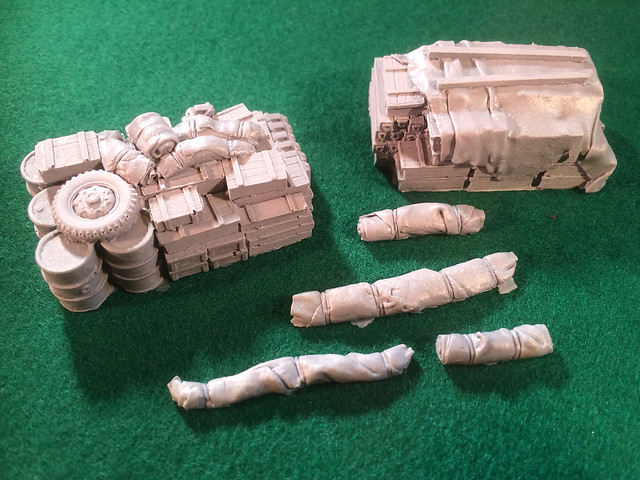 |
| Deciding on cargo. I opted for the load stack on the right for my YaG. It's an ammo box heavy load with a very nice tarp...The problem is it's too big! |
...No problem though. I also wanted to have a partially loaded truck as I wanted to leave space for a 'theoretical' gun crew. So I realised I would have to do some creative re-sizing of the Value Gear 'blob'. After some measuring up I reached for my mini-saw...

I decided that the cargo would look nice in a cross-wise orientation hard up against the front of the flatbed, just behind the truck's cab. I found a nice logical place to dissect the load - right where a stack of crates met another - and removed a section keeping the larger load and a nice 'end cap'.
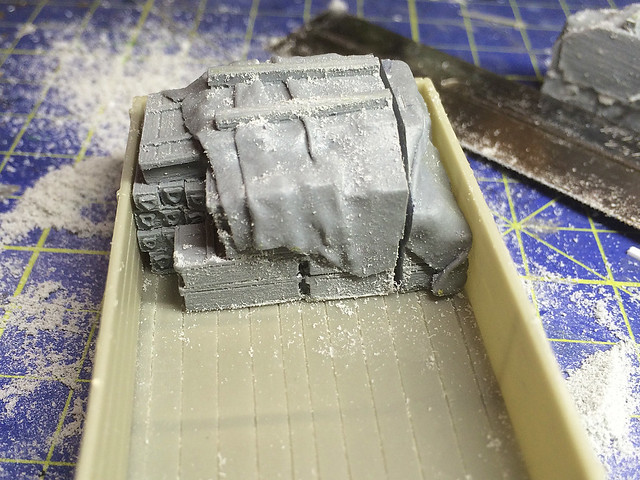
Checking the fit I was very pleased with how the load looked. I'll rejoin the two parts of the load and fill the gap with - you guessed it - Milliput.
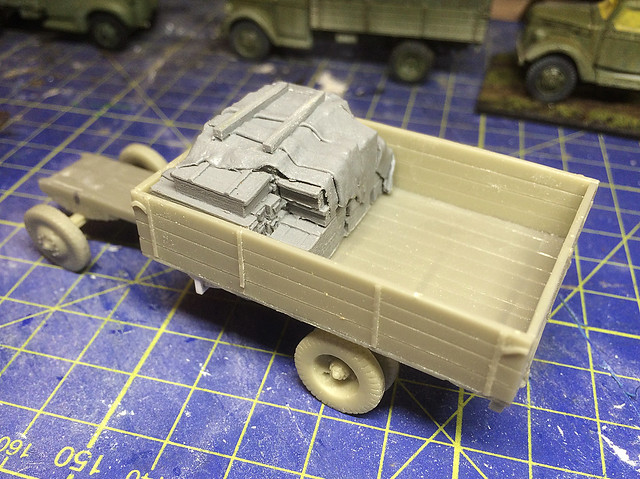
While giving the truck a suitable 'artillery' look there is enough space to - theoretically - accommodate the gun crew, though I could add some additional personal equipment or tools if needs be.
While I could have created this cargo myself the Value Gear 'blobs' are very nicely crafted and do save me a lot of time (there isn't much joy to be had out of modelling small crates)! Though, I might be tempted to add some rope ties around the load.
This moves my YaG one step on and all the major components are complete (now all my tweeking has been done). So the next stage is the actual base coating.
No comments:
Post a Comment