 |
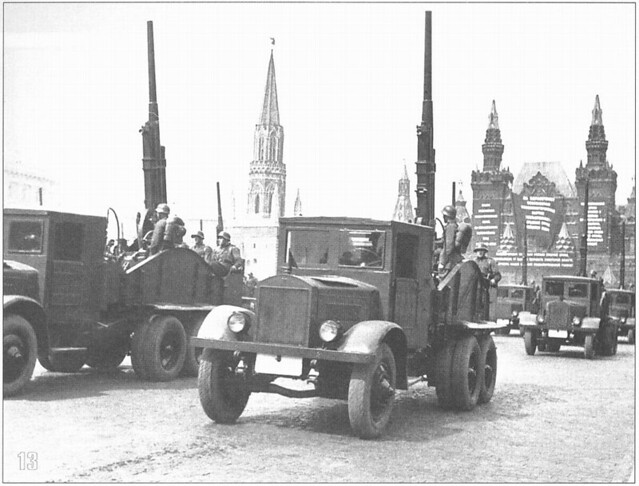
| The YaG 10 with AA gun. This shot - take in 1931 - give you a sense of just how big the YaG trucks were. |
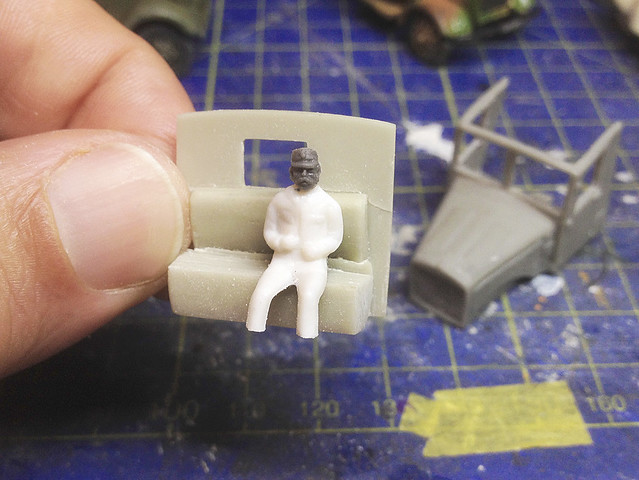
My brother sent me a load of HO (railway scale) seated civilian figures - I guess they are supposed to be passengers waiting at a station - and I have found these make useful driver bodies because of their slim size (they fit into compact vehicle cabs nicely). Onto one of these 20mm bodies I stuck a 1/72 HAT Austrian WW1 soldier's head.
Even though the body is quite 'svelt' I still had to amputate the feet to get it to sit at a pleasing height in the cab. I really like the Austrian's face, with his big bushy moustache! I had to cut down the crown of his field cap to make it more Finnish looking though.
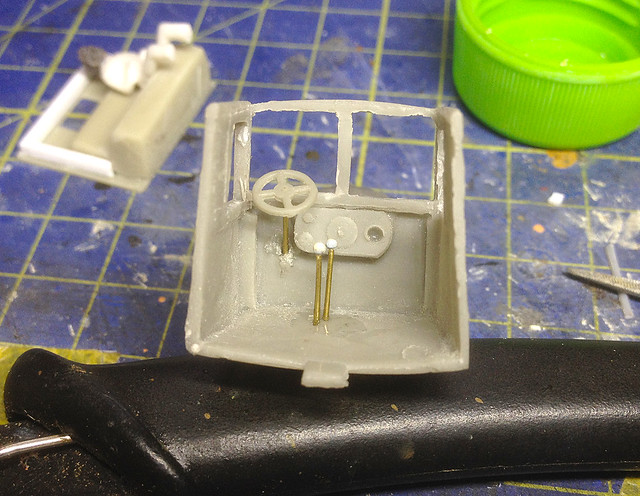
Now, having procured a driver I could now work out the placement of the steering wheel and gear levers (as the space is now very tight). I am placing the steering wheel just in front of the driver's lap, his hands aren't out-stretched to grab the wheel but I guess this will pass for a relaxed position (I'm not sure anyone will be able to see this fudge).
 |
| The Zebrano gear levers were a bit too short and feeble, so I made replacements. This shot gives you a good idea just how warped the cab is! |
The rear wall of the cab - with the integral bench seat - is a brittle component. I actually snapped off the top half (with the rear window) while trying to get this part to fit into the front cab component. When I did get it to fit in I discovered - another - two problems, the first being that the whole thing was askew and there were gaps and the second that the seat was - in my opinion - too high.
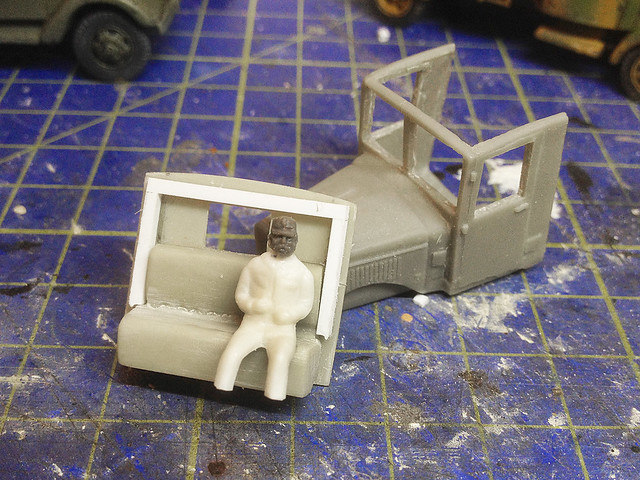
So, I sanded down the bench a bit until the driver sat at a comfortable height and then I began to make a rudimentary frame to help square up the bowed cab side-walls. (Though I do note - looking at reference photos - the driver does actually seem to sit very high in the cab.)
I believe (but please don't take me at my word though) you can re-form warped resin parts by submerging them in hot water and then gently pulling them back into shape. I think that as the resin cools again it hardens and retains it's new form.
Never having done this before though I decided to just let my frame take the strain! I was worried that the very brittle resin might snap if I tried mucking about with it.
Now, finally, it was time to dry fit al the parts into place...
 |
| Now I have the fenders fitted you begin to get an idea of the sheer size of this beasty! I've put the YaG cab next to my Ford V3000 for scale. |
 |
| Added some styrene rods to straighten up the window frames. I can now re-attach the fenders (which aren't matching either, what else can go wrong)! |
Phew, what a kerfuffle.
Next: Painting the interior of the cab.


No comments:
Post a Comment