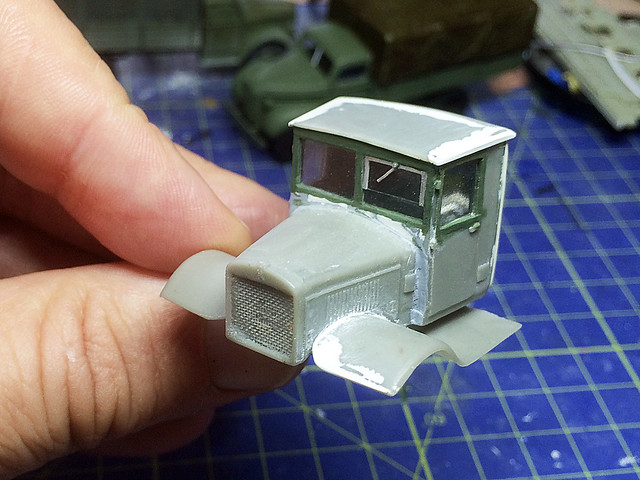
Despite thinking I had finished the construction of the cab I still ended up tinkering with aspects of the assembly that I just wasn't happy with.
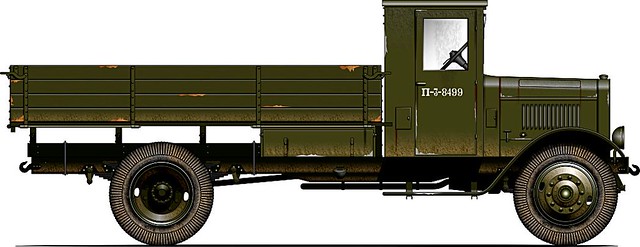
Left: Illustration reproduced with the kind permission of Oliver Missing of the 'Engines of the Red Army' web site. Source: © www.o5m6.de (Note: These illustrations may not be re-published without permission.)
Aside from simply smoothing out lumps and bumps and filling gaps I also wanted to add a nice feature of the YaG-6's windshield - the driver's side split screen and window-wiper. So before I move on to the cargo flatbed I finished off the things about the cab that niggled me.
I'm not entirely convinced that Zabrano have captured the shape of the fenders correctly but I certainly did not want to go to the trouble of making completely new ones from scratch. So I settled for making both left and right mud-guards the same size as they didn't get that right either!
I finished off the planking on the rear cab - made with strips of metallic sticky-tape - and made a slightly better rear window, including some metal cross-bars. I don't think this is strictly authentic but I think it adds some nice decoration and looks right.
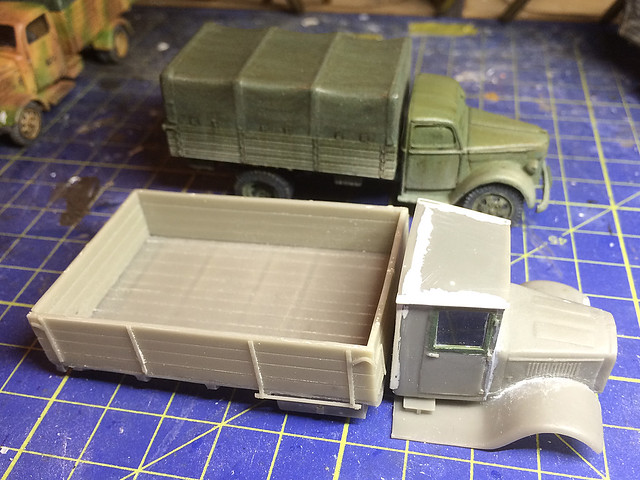
That done to my satisfaction it's time to move on to the cargo flatbed. Now according to the instructions this is the simplest of jobs, just gluing together the 5 components which are made up of the flatbed itself and the four walls of the cargo section.
...But guess what? It ain't that simple. All these parts need some sort of attention and are in one way or another the incorrect size. Additionally the fine details - such as the drop-side hinge-bars - are broken or completely missing in some cases.
 |
| Source: © www.o5m6.de |
The cargo bed took some amount of sanding to get things to go together neatly, and I will have to make new hinge bars (easy enough). It just all more work.
Another aggravating thing is that the spare wheel - which is supposed to fit underneath the cargo bed - is missing! Because the YaG's wheels are a non-standard and larger size it's not something I can simply rectify by rummaging through my spares box. I may have to make a replacement, the hardest part of which will be replicating the distinctive tyre tread.
...Moan, moan, moan!
Anyway, let's try and end on some sort of positive note. Having made the cab and cargo bed I can now get some sort of idea about what size the finished model will be - and oh is it going to be a whopper!
I compared it to one of my medium trucks and it dwarfs my Ford V3000 by a good amount. A good job really as I intend this as one of my three heavy artillery towing vehicles (the real YaG-6 had a 5 tonne load capacity).
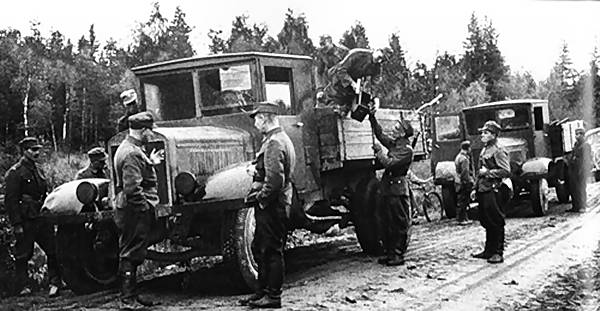
The model doesn't come with a tilt canvas cover but, actually, the two examples of this big truck that the Finns captured didn't have tilt covers fitted...
 |
| Source: SA Kuva archive |
Next: The chassis. (Any guesses how much work there will to be done on that?)


Good skills Stephen.
ReplyDeleteThose fenders look too wide compared to the top drawing. I wonder if that is why you think they have not captured the shape?
These trucks are a real labour of love with you mate.
Good on you!
Hi Paul. Thanks! ...With this one it's simply a case of 'it's not going to beat me'!
DeleteI agree about the size of the fenders, I'm going to see if I can get some reliable reference on the dimensions of the actual vehicle today and see how these match up with the model.
Really enjoyed the pics of your Cold War Asian tabletop by the way! (Talk about labour of love!) ;)