 |
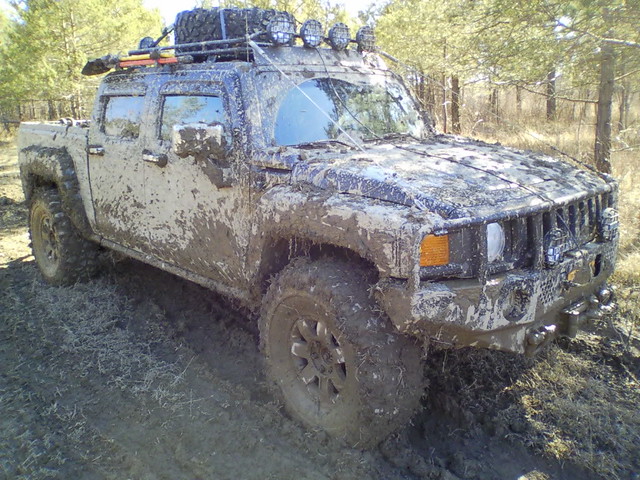
| No, not a WW2 German army truck, but I couldn't find a colour reference photo that illustrated the type of mud I was after! |
However, before I actually began applying my powdered 'mud' I did decide to do some basic airbrush work to ensure I covered all the nooks and crannies of the chassis framework...
The chassis on the right in the above photo shows the base colour coats prior to airbrushing, which I did using a Vallejo Model Air sand colour. So adding my powdered mud is now a case of deciding how textured I want the layer of caked on mud to be...
I decided to go for it and texture quite heavily, covering practically all the basic painted coat. Having said that (as you might ask 'then what was the point of the base coat at all') where the 'mud' is applied thinly you can make out different shades of colour giving patches of light and dark 'mud'. This is rather nice as it gives the impression of differing levels of dryness.
I could take this idea one step further by adding some clumps darker slate grey 'mud' to indicate wet mud. Or, indeed, I could add different colours of mud - maybe an ochre or brown mud - to suggest that the truck has been driven through different terrain, it's all a matter of taste.
Next: The wheels get the same treatment before attaching them, then it's onto weathering the top half of the trucks.


Wonderfull tutorial! Thanks for sharing!
ReplyDeleteGreetings
Peter