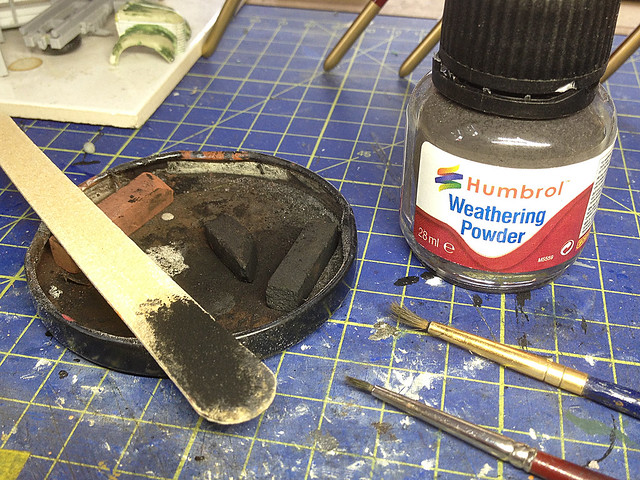
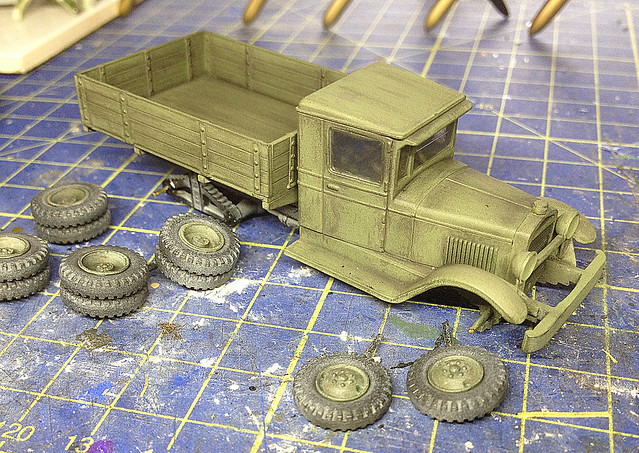
Now, the potentially messy bit! The application of 'weathering powder' (that's chalk dust to you and me). There's so much that can go wrong here - this stuff is apt to go exactly where you don't want it...But despite that I like working with powders.
Having done this it can be a bit of a 'yikes' moment but you mustn't panic and remember that this is only a stage in a process, it won't look like this when you're finished!
Even if you find that you've gone a bit over the top the good thing about the powder technique is that it can be modified and even removed using an artist's putty eraser or even Blu-Tack (especially if you have coated the model with layer of gloss or satin acrylic varnish before starting...I probably should have mentioned that first).
Once the model is as grubby as I want it I'll give it a light spray with varnish just to seal the powder layer. When varnished I can then move onto the next stage which is the pin-washing stage.
And finally...The chassis...
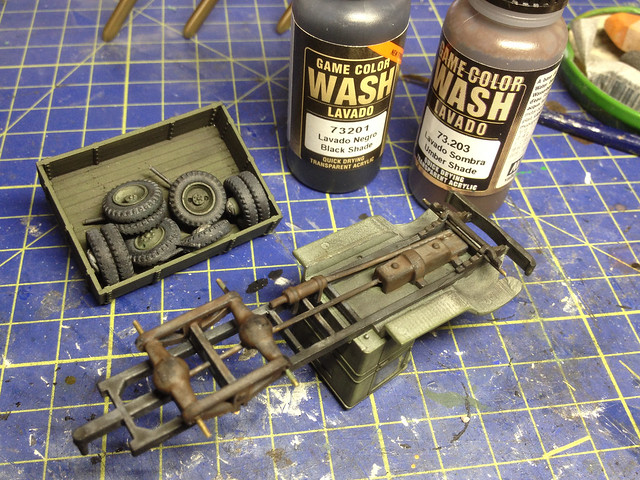
While preparing the bodywork let's not forget about the underside of the model. I started with a base of flat black for the chassis, engine and running gear and, again, I wanted to end up with a well worn mucky, greasy finish.
In contrast to the powder effects used topside this time I am reaching for my relatively new Vallejo 'Game Color Wash' bottles - Black Shade and Umber Shade...
The umber shade over a black base give a nice oily colour with a hint of surface rust. The black adds some depth and additional shading and staining. I am really enjoying these Vallejo washes, I am rubbish at making a nice wash of the right consistency and these take the hard work out of this job.
NEXT: Another light coat of varnish and then the pin-washing.


No comments:
Post a Comment