I've had a few goes at painting model tank tracks and generally I've been quite pleased with my hap-hazard techniques. But now I want to try and find a formula for painting tracks in a consistent manner, so I looked around and found a few possible techniques in order to develop my own 'recipe'.
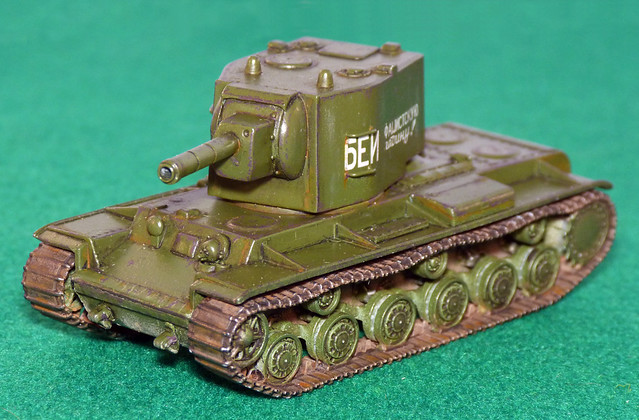 |
Probably the happiest I've been with a set of tracks that I've weathered was the
set I did for my 1/72 Pegasus KV-2. This was within the 'Goldilocks' range of
weathering - in my opinion - being not too much or too little mud and rust.
Unfortunately, I didn't keep a note of what I did - hence this experiment! Du-oh! |
As the title suggests this is my third attempt at a track painting technique, but the first two were a case of 'keep slapping stuff on until it looks right' sort of affairs! That they did turn our OK was more luck than good management. Today I'm trying out some of the things I thought worked along with one new medium - Vallejo's Model Air 'Rust' paint.
Stage 1 - Flat black base coat
I began by giving these PSC one-piece tracks a spray of Humbrol Matt Black spray and then give it a light coat of Humbrol Satin Varnish on top to protect the base layer from the subsequent experiments (the idea is that I could clean off any further effects/washes without spoiling the basic coat).
I then painted in the 'Russian Green' details behind the road wheels and inside the wheels, which I then masked off for the next stage. (Obviously you will do this slightly differently if you are making a muti-part set of tracks.)
Stage 2 - Vallejo Model Air Rust
Now this is a new medium that I haven't used before. Normally at this stage I would be using a 'rusty' coloured wash or maybe one of AK Interactives enamel washes - I had no idea how this Vallejo paint would look...
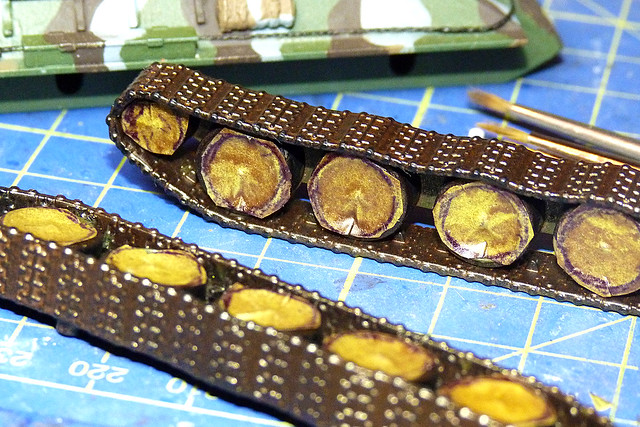 |
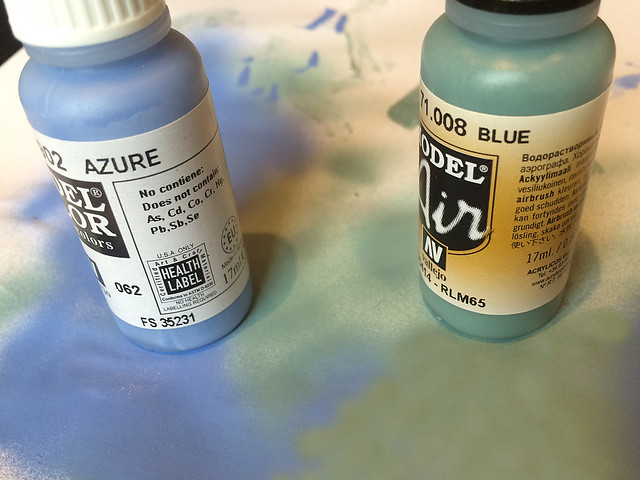
Finding it hard to capture the precise colour of Vallejo's 'Rust' with my camera.
It's a metallic and muddy bronze or tarnished copper, if that makes sense? |
 Hmmm, interesting
...It turns out that the Vallejo paint is a metallic dull browny copper colour. Not sure how this is going to turn out at all!
The Vallejo paint is one of it's 'Model Air' paints which are especially designed to be used with an airbrush. I have no idea how light or thick to go with this so I erred on the lighter side (but it dried quite shiny so I don't think you need much).
Stage 3 - Dark wash
In order to pick out some of the raised detail of the PSC tracks I now paint on a thin dark (I use black but it could be a very dark brown) wash. I'm using Vallejo's (no, I don't work for them) Game Color Wash - 73201 Black Shade. This will dull down the shininess of the metallic 'Rust' colour and settle along the extruded track detail.
Stage 4 - Adding the mud/earth
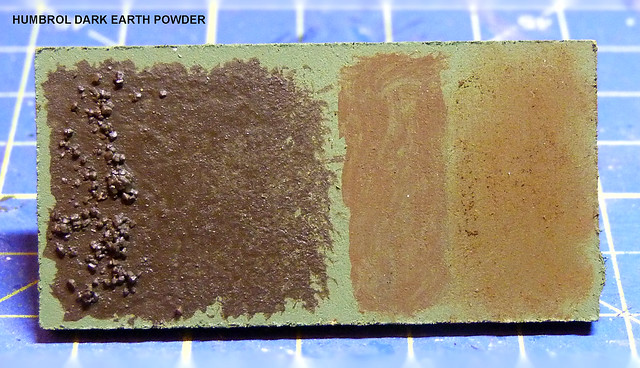
I am returning to familiar ground for this stage as I get out my Humbrol and Vallejo pigments. I look for the pigment colour which is closest to the colour of the mud on the base I am making (remember those pigment swatches I made up recently, this is when they come in handy) which turns out to be Humbrol's 'Dark Earth'...
I apply this in powder form, dusting it over the track generously - over a tray so I can return the excess powder back into the bottle - and then keep brushing until I have a light film of pigment powder over the surface.
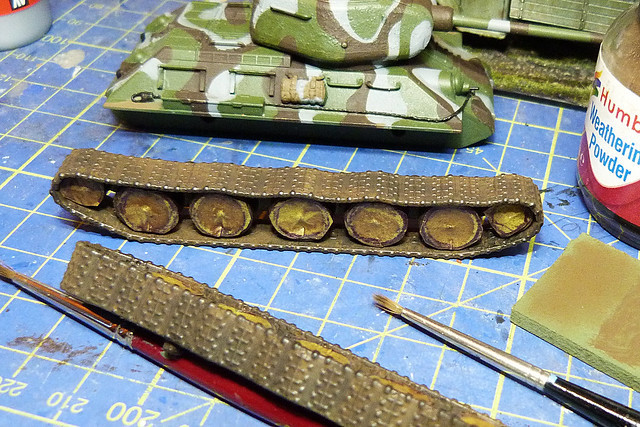 |
You can gently rub away the pigment powder to expose shiny coat underneath.
I will seal this powder layer with a light coat of spray varnish. |
Again this dulls down previous colours, which seems over-kill BUT I do think it builds up a rich and deep multi-tonal colour effect (as opposed to just painting the track a flat khaki colour in the first place).
Stage 5 - Highlighting with graphite
This is my favourite fool-proof technique for adding a bare metal accent to any plastic kit. I use a cheap set of Farrel/Gold graphite sketching sticks (but you could use an ordinary graphite pencil) and run the point of a 4B across the raised track detail to produce a steel effect.
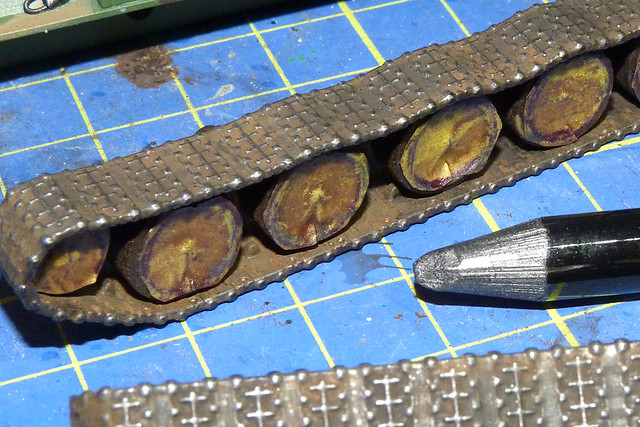 |
| Note: The road wheels are still masked out...It case you were wondering. |
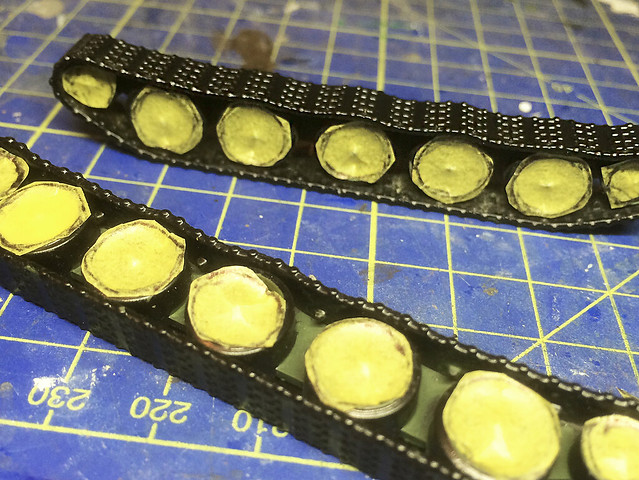
This brings all the previous stages together and all of a sudden you have a dusty set of tank tracks with a worn pattern on them.
Errata: Spraying varnish over the powder pigment was a mistake! The wet varnish reacted with the pigment and turned the powder a darker shade of the earth colour. Basically the tracks looked like they were black(-ish) again!
So I had a second go - this time (going on a tip someone mentioned in one of my comments) I brushed some Johnstone's Klear (acrylic varnish) onto the track and the dusted on the power pigment. Once dry I brushed off the excess with a stiff brush. The powder stuck this time and retained a more reddy-brown colour.
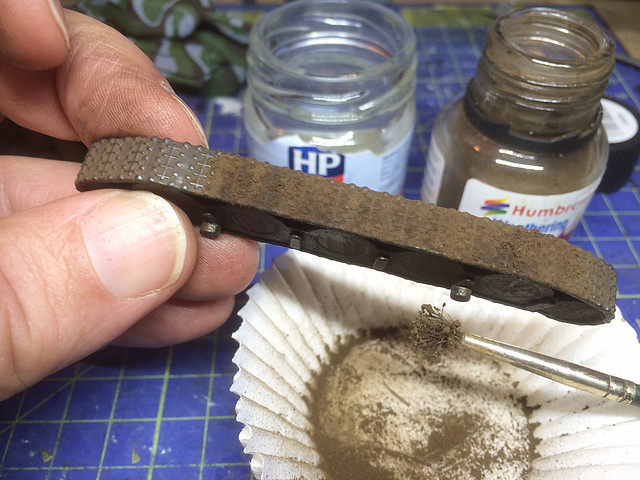 |
Revised technique: Dust on a heavy layer of powder on top of Johnstone's Klear
varnish whist the varnish is still wet... |
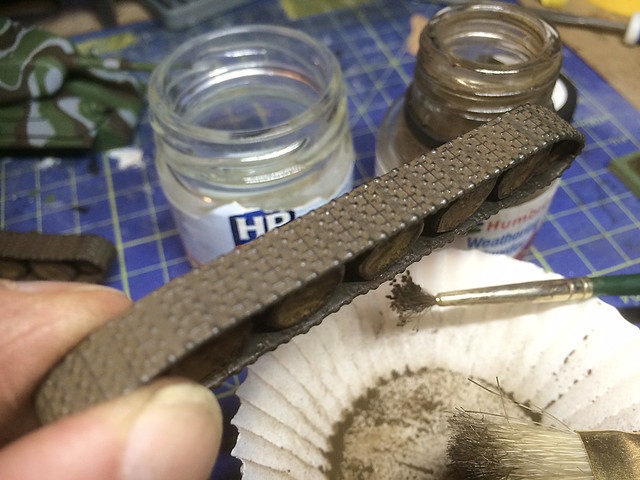 |
| The using a stiff brush clean excess power off. |
...Finally re-apply the graphite again.
Conclusion - Was this effective?
This is a different and slightly understated look compared to my previous efforts at weathering tracks.
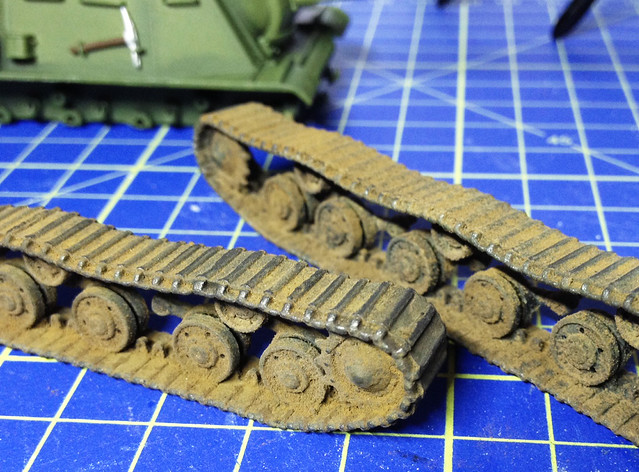 |
A prior attempt at weathering tracks where I mainly used pigments on a flat
base coat. A nice effect IF you want heavily muddied tracks but otherwise a
bit over-done really (and not much variation in tonal range). |
Before I was - as beginners tend to be I think - a little heavy handed in my application of 'mud' on tracks. You tend to get a bit carried away with the excitement of producing a new effect and so exaggerate it - so my previous tracks tended to be heavily caked in mud. All very well if that's what you want, but not every tank track looks like it's just gone through a muddy watering hole after a heard of buffalo!
In this case I was after a set of dusty and worn tracks where the majority of mud had been shaken off due to the tank driving on proper roads or hardened dirt lanes.
One thing I want to mention is that - as usual with me - I make this simple technique look harder (or more time consuming) than it actually is. This is actually a fairly quick method of doing tracks which has taken me no more than an evening (fast for me) to complete. I say this because I am aware that I see-saw between war-game modelling and display modelling techniques - this is one effect that I think would satisfy either camp.
You will have to judge whether you think the end product is effective. I, myself, like it.