 |
| IS-2 model 1943, 88th Independent Guards Heavy Tank Regiment, Berlin, April 1945. Source: Tanks-Encyclopaedia.com |
I had already purchased their 'Russian WWII 'Cryllic style' numbers [1:100-1:76]' decal sheet for my 'Battle of Kursk' project's T-34s and was tempted to use it for my IS-2 as well...
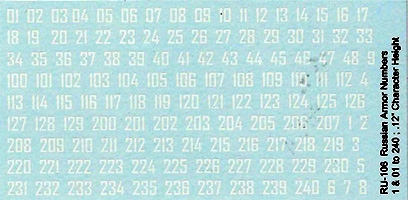
But at the last minute I changed my mind and went hunting through my decal stash for something more suitable for the IS-2's larger turret. I managed to find a nice set of Cyrillic numbers which had been for a 1/72 BA-10 armoured car, but seemed to just the size I was after.
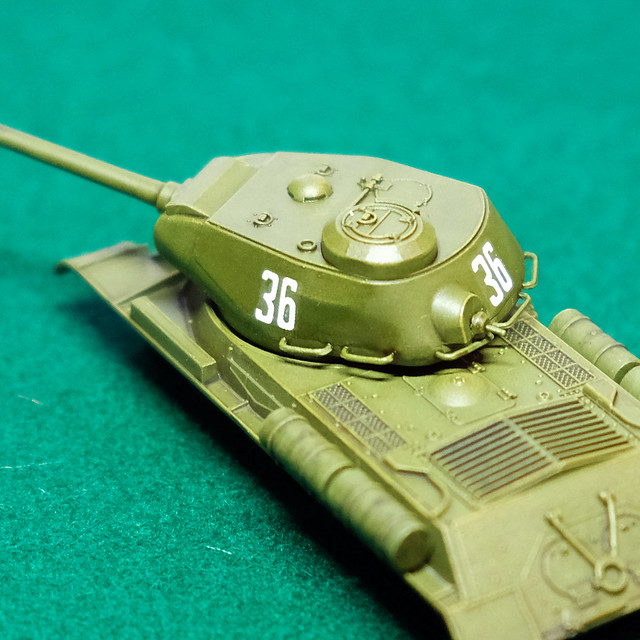
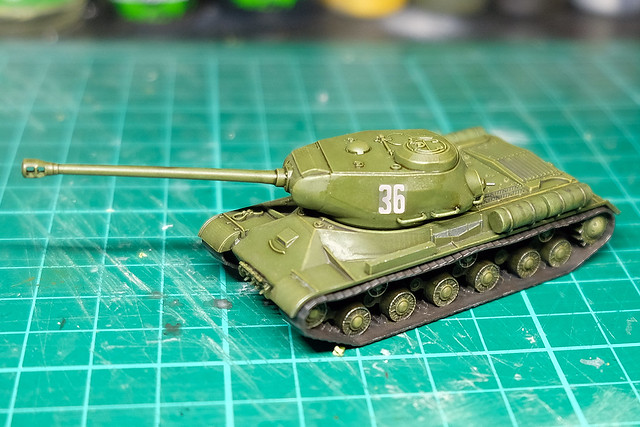
As usual I prepared my model surface for decals by painting on a small area of gloss varnish, just where the numbers would go. Once the varnish was dry, I used some Microscale MicroSet setting solution to seat the decal. I find that MicroSet and MicroSol liquids help prevent silvering and hide the decals carrier film (although it can be clearly seen in the above photo, for now).
Once satisfied the decal is smooth, straight and adhering perfectly I let it dry and the dab on some MicroSol around the edges of the decals carrier film. This should further help the film blend in to the model's base coat and make the decal look like it has been painted on.
I conclude the process with a thin coat of satin varnish, to permanently fix the decal and protect it during the weathering stages.
The Camouflage Pattern
I'd decided that I wanted a winter camo pattern for my IS-2. Should I decide to add more late WW2 Soviet tanks to it (for a game of GF9 'TANKS!') I wanted to distinguish these Soviet vehicles from my mid-war 'Kursk' collection (which will be in plain Russian Green for the summer months of the war).
I didn't really want to do an all-over 'white-washed' winter scheme, so looked around for something a little different. Tanks-Encyclopaedia came to my aid with a couple of very nice examples of winter camp schemes...
 |
| 29th Guards Heavy Tank Battalion, Poland, early 1945. Source: Tanks-Encyclopedia.com |
 |
| Partial winter camouflage, Eastern Prussia, February 1945. Source: Tanks-Encyclopaedia.com |
I'll began by sketching out the outlines of the 'snow stripes' using a white chinagraph pencil...
Next: Camo Scheme Painting.


No comments:
Post a Comment