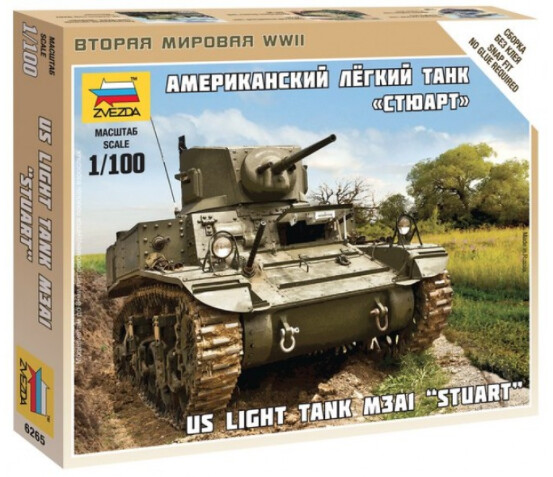
I would give you two tips if you are considering buying this kit; be very careful with the guns as they are quite thin and fragile and also install the rear hull plate before you install the upper hull!
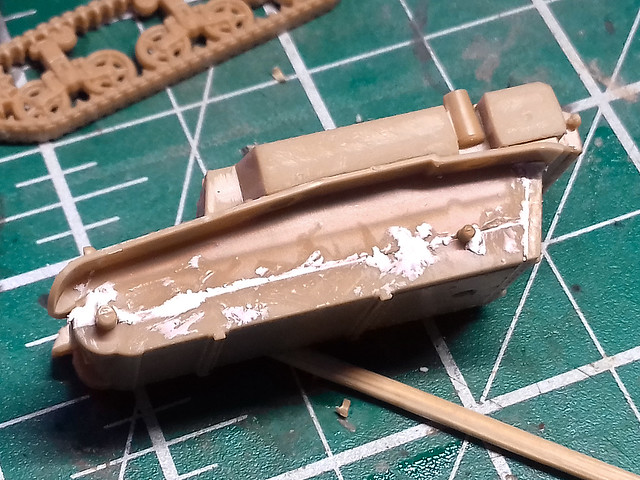
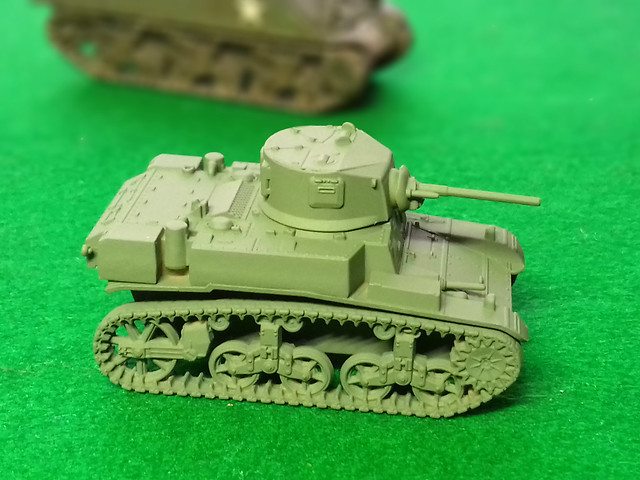
Everything goes together quite well, typically of Zvezda they slightly overcomplicate the assembly because they have opted to make their kit 'snap together'. But I chose to glue mine together and I did use some putty to fill some gaps in the lower hull's seam...
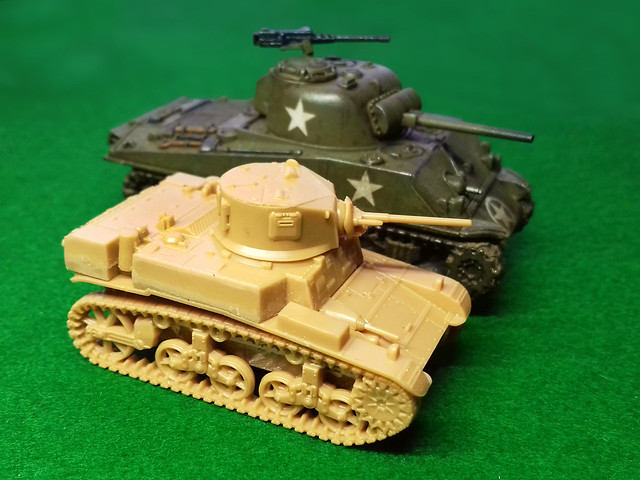
In any case, this was not a big issue and I till had the kit assembled lickity-split. I couldn't resist posing it next to one of my newly completed 1/100 Shermans just to give you some impression of the size of the Stuart...
As you can see, the Stuart comes in sand yellow plastic and the great temptation then is to paint the model up as a Britsh/Commonwealth 'Honey' in a North African scheme. With Gale Force 9 about to issue it's North African campaign tank models this would be the fashionable thing to do, I suppose.
But, I fancied something a little different and looked to the Pacific Theatre for inspiration. The early to mid campaigns of the US Army in the Pacific are often overlooked and some tend to forget that there was tank action between the Americans and the Japanese and I'll love to try out a game based these actions. (Battlefront does not do 15mm Japanese tanks yet, but models are available in this scale from other suppliers.)
While technically obsolete in the European theatre, the little Stuart could still give Japanese tanks a run for their money. and I suspect it's diminutive size was something of a plus point in jungle warfare. So, I'd like to paint up a - fictitious - US Army Stuart in an ad-hoc jungle scheme I found online, but let's get the priming done first...
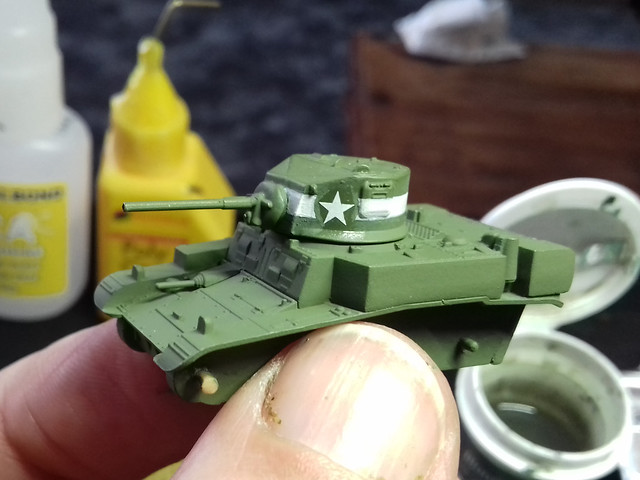
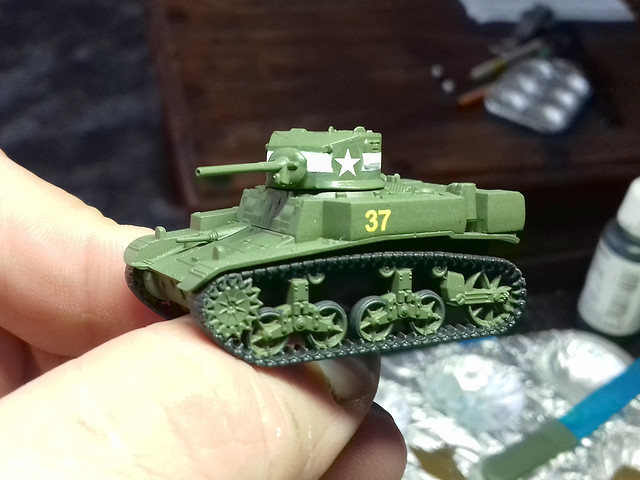
I went with Humbrol's Light Olive [86] to get that faded OD look and then added a US star decals and hand painted the white band around the turret. Not my best painting but this doesn't matter so much (for reasons that will become clear later)...
Incidentally, I tried out a different technique for the preparation before applying the decals. Normally, I just spray the whole model with Humbrol Gloss, but this time I just painted on some gloss only where the star decals would be positioned. Less spraying can only be a good thing.
After all the decals were down I did give the model a light spray of satin coat, though, to seal the decals and ready the model for the next stage of painting...
The next job is to paint some of the fine detail painted - like the tools and MGs, etc - and then to apply and overall wash of Citadels Agrax Earthshade. This serves to 'dirty up' the pristine paintwork and settle into the panel lines to give the surface detail some extra definition.
And finally, for this phase of the basic painting, I will be applying my 'staining & pin-washing' process, though I will be trying out eye-shodow powders again as the worked so well wih my previous 1/100 Sherman models...
xxxxxx
The Camo Pattern....
Now to the camouflage paint scheme and I maybe taking on something that's a bit too niche, so I may be biting off more than I can chew (particularly in this scale).
You may have noticed that I have applied the decals before I do the camo scheme in this instance, which seem wrong. But the particular scheme I am after is a little different...
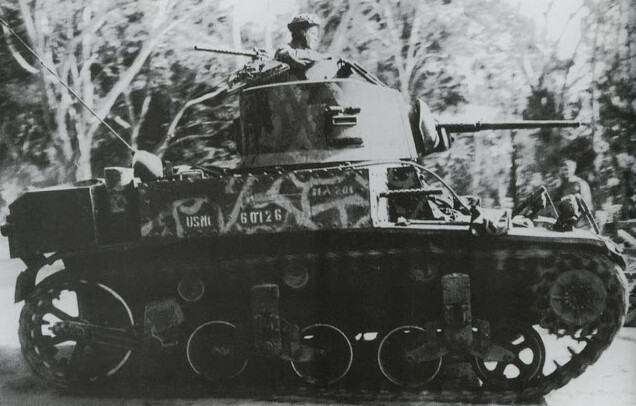
In the above - very rare - photo a USMC M3 Stuart has been given an improvisatory field 'paint job'. I've read several discussions about what colour these 'jungle stripes' might be, some people say white and some say a light tan (indeed there are some documented examples of US Pacific tank schemes in white stripes, I believe this unusual choice *may* be to do with bright sunlight shining through gaps in the jungle canopy).
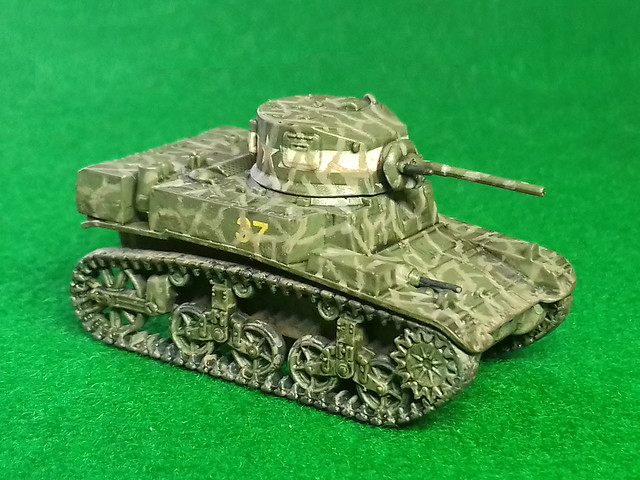
However, if you look at the turret - where the ad hoc stripes have been painted over the US star - you can plainly determine that the colour cannot be white. This leaves two options, that it is light tan (or khaki) or it may actually be MUD used as an expedient!
Were the above photo in colour, I *believe* this is how it would look...
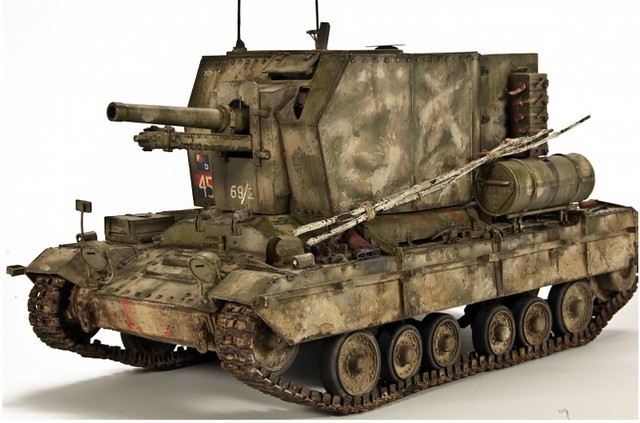 |
| This model of a British Bishop SPG in Italy - by Rick Lawler - is an example of a field application of mud as a camouflage 'paint'. |
NOW...This 'paint scheme' has the potential to turn out to be a horrible mess, but I would like to try it and - to be honest - it's best if I do on one of these little 1/100 models as it won't be a major disaster if things go wrong (it won't be the first time I have used these cheap little models as 'testers'). So, (deep breath) let's have a go...
Final Thoughts...
For me, this was a very quick project, beginning to end in one post (that's unheard of)! But, actually, I could actually tinker a bit more with this if I wanted to.
The mud camo scheme turned out not too bad, but the two colours of 'mud' I used were a bit too much alike (I was trying to go for a lighter dried mud colour and a darked wet mud colour). But, having said that at tabletop distance it doesn't look too bad.
Once again, I have enjoyed making one of these little 1/100 models. Though, so far, I have made them OOB and not added any embellishments or improvements to the simplified detail. But, there again, this is probably somewhat counter to thier use as gaming pieces.




"(Battlefront does not do 15mm Japanese tanks yet, but models are available in this scale from other suppliers.)" Ehm, yes they do? From tanks to tankettes to flaot tanks? http://www.ebay.co.uk/sch/i.html?_odkw=Battlefront+15mm+Japanese&_osacat=0&_from=R40&_trksid=p2045573.m570.l1313.TR0.TRC0.H0.XBattlefront+15mm+Japan.TRS0&_nkw=Battlefront+15mm+Japan&_sacat=0
ReplyDelete