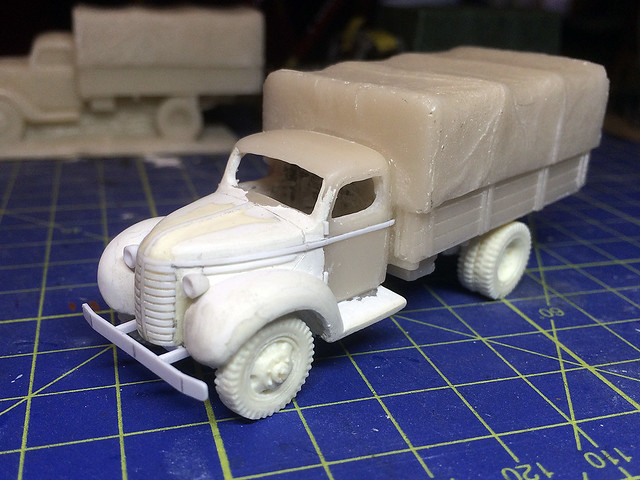
Anyhoo, remember my 'Quick 1939 Chevy Medium Truck' project? Probably not, so I will re-cap - It's another 'kit-bash' hybrid based on Valiant's very nice 1/72 Fordwerkes V3000 resin war-gaming model. In this case I mount a scratch-built Chevy bonnet and wheel arches onto the back-half of the V3000 cab to make a (hopefully) passable 1939 1.5 ton Chevrolet cargo truck.
I had to do a bit of 'cheating' and enlarge the bonnet slightly to get it to mate seamlessly with the V3000 cab, but it looks OK as long as you don't put it side-by-side with a proper 1/72 1.5 ton Chevy truck kit!
Weathering - working with oils
I'm getting my basic 'war game' style of weathering pretty much down pat now. I say 'war game' style because it's a little more exaggerated in it's use of effects than were I doing a display model. The idea is that it looks 'cool' at table-top distance so things like weathering and chipping are a little OTT.
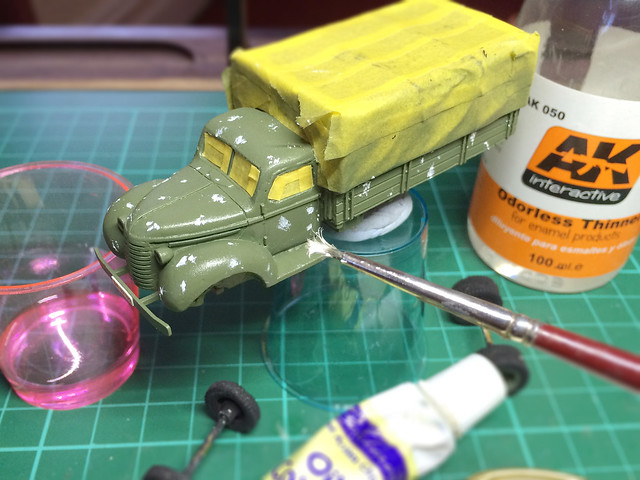
I have developed what I call my 'leopard' technique for weathering with oils where I apply successive layers of coloured spots. I lay down a random spotty pattern of one colour, then I smear it with a wide brush dipped in thinners (but then wiped so it's only just a little wet) to create the streaking effect I'm after...
I usually start with white spots which, when smeared, will (hopefully) create a 'bleached' look on old paintwork. The Finnish army trucks by the end of the war were pretty worn and battered and originally bright paint schemes were faded and patchy.
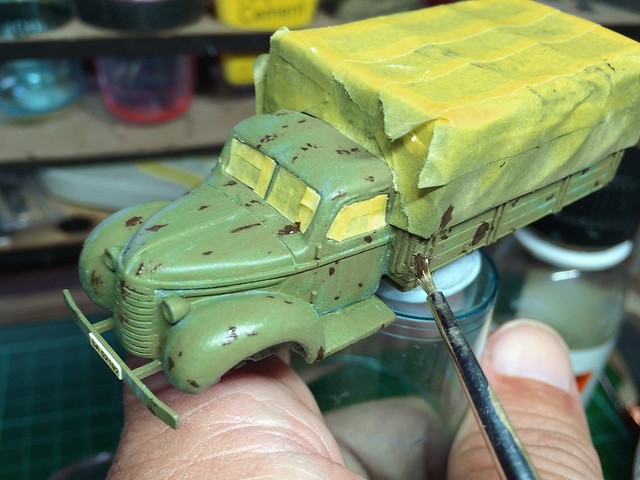
In all I usually do three different colour schemes of spots, each progressively darker (depending on the truck's base colour). For green vehicles I usually like to end with a oily brown stain effect...
Between each layer of streaking I apply a light coat of Humbrol Satin Acrylic Varnish, this protects the work I have done before I add the next coat of oils (and, obviously, I begin the whole process with a coat of varnish to protect the model's base paint coat).
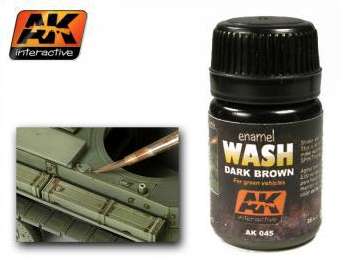
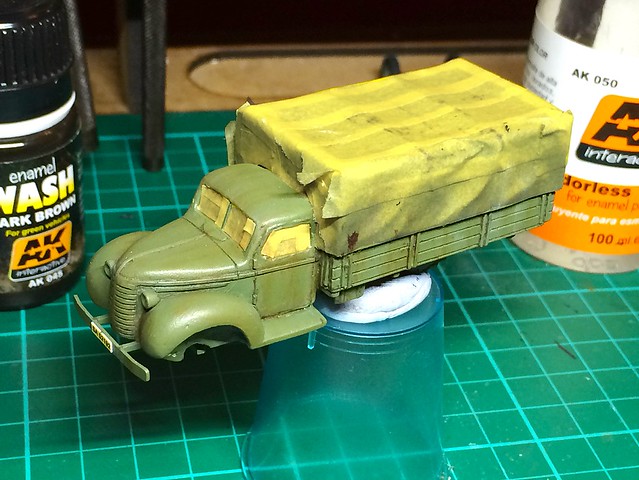
A dusting of varnish is applied again before I go onto the next stage, which is the pin-washing. I use AK Interactive - Enamel Wash: Dark Brown for Green Vehicles and I have found this works best with a gloss varnish base, just to help the enamel wash 'run' into and along all the panel lines detail.
This enamel wash is also great for adding additional grimy streaks on your vehicles. The AK range includes special washes for 'oil streaks', 'grime', 'fuel stains', 'light rust', but this is the one that I used the most.
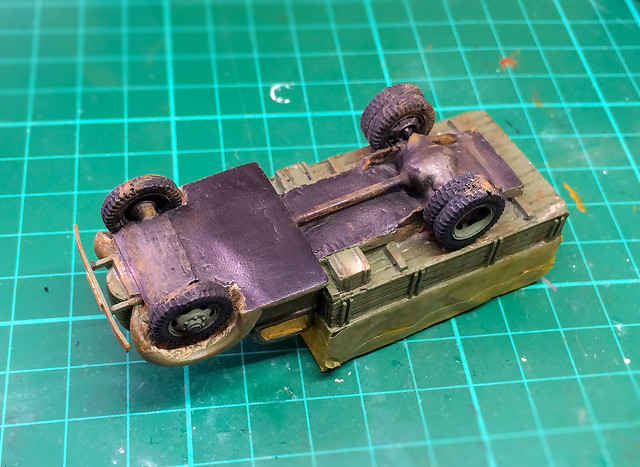 |
| Having finished the weathering of the underside I could finally fix the wheels in place and cover over the holes I left for the axles. Underside done! |
And then I end with some light rust effects and, finally, the addition of a layer of dust and mud. In this case I have decided on a light application of dust and mud.
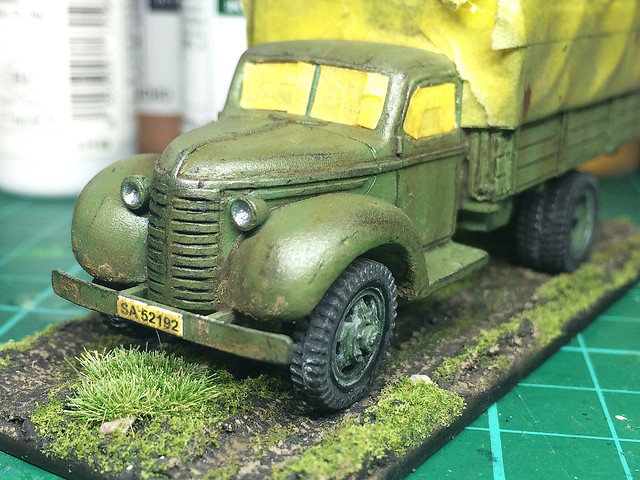
The final treatment is a coat of satin and matt varnishes. I like to lightly mix the vanish coats as I think vehicles alway look nice with a little sheen to their paintwork - so I give a quick 'puff' of satin to the cab and matt varnish everywhere else. And that's that.
Next: Basing the vehicle.


No comments:
Post a Comment