
Having completed the work on the V8 engine I decided to add some tiny 'improvements'. At this stage the engine is 'complete' as far as the Revell instructions is concerned, but a quick look at any reference photos will make it immediately clear there are some parts which are obviously missing.
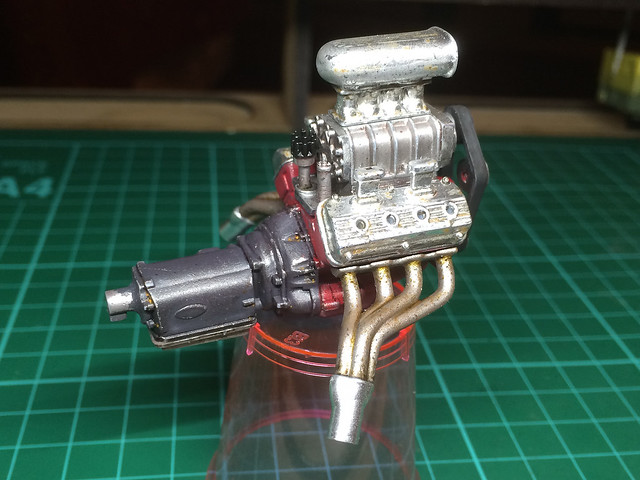
Principal among these are the 'cables' (?) that go from the valve cases at the sides to the distributer at the rear of the engine...
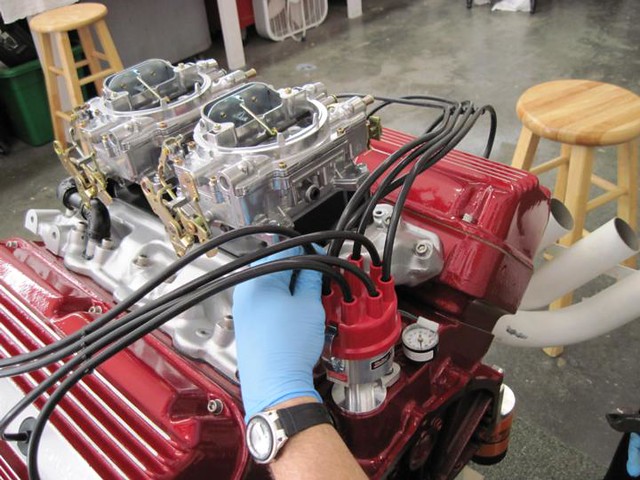
All this means is a fairly simple job of adding a few wires to represent these cables. The above reference photo gives a very useful idea in which order the cables are arranged and how they go into the distributer itself.
Anyway, while I look for a suitable wire that I can connect to the distributer (I tried normal electrical wire but it was too thick) I will move onto the next big job - the car's chassis.
The chassis construction
Now...This is where things get a wee bit tricky. The Revell instructions suggest you to start on the car's interior 'bucket' next (the driving compartment) BUT I have a particular design in mind for my Mad Max themed conversion so I'll have to abandon the instructions at this point.
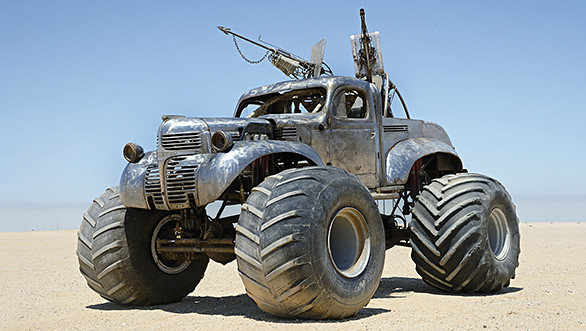 |
| Ooooooow...Look at those chunky wheels! I like that idea. |

Getting hold of the new chunky wheels was surprisingly easy - I found a appropriately sized toy car with big aggressive looking wheels in my local pound store! But, will they work with the chassis?
I made up the chassis as Revel recommended as I guess the only way I will know if my idea will work is to try it! From a point of view of 'realism' I am sure mating off-road chubby wheels to a hot road drag racing chassis frame is not correct. Done properly I should have a reinforced chassis with heavy duty suspension (like a 4x4) really or maybe even a raised suspension like a monster truck...But this is a fantasy build I suppose, so 'realism' is secondary.
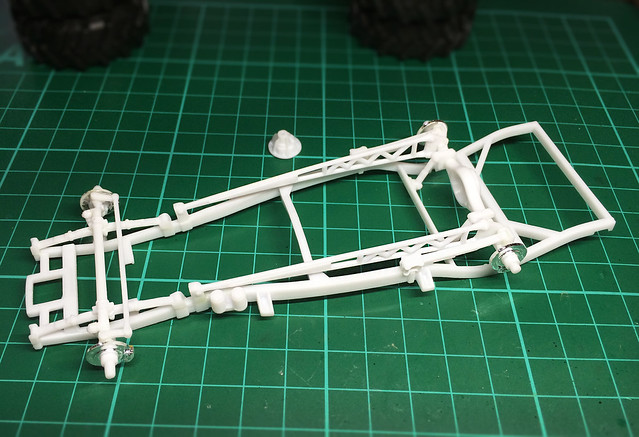 |
| The Revell Willy's 1941 Coupe chassis assembled. |
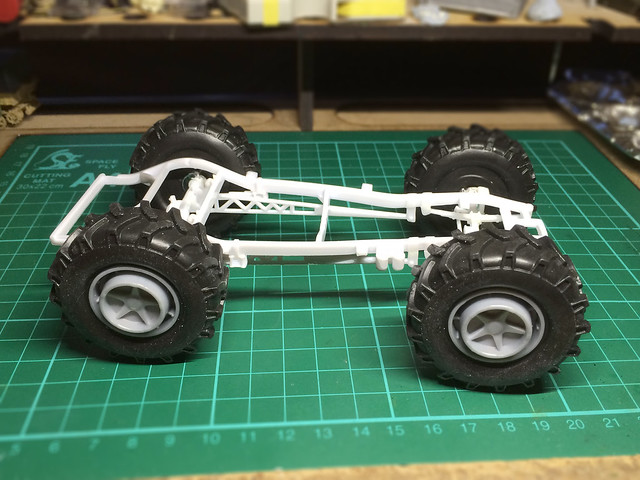 |
| In the end I only had to do a small amount of modification on the chassis to get the new chunky wheels to fit. Just some minor trimming to raise the front axel. |
This is a 'suck it and see' modelling moment - I'll drop the body on top of the chassis and try and work out what modification I would need to make to the bodywork in order to make it fit snugly onto the chassis...
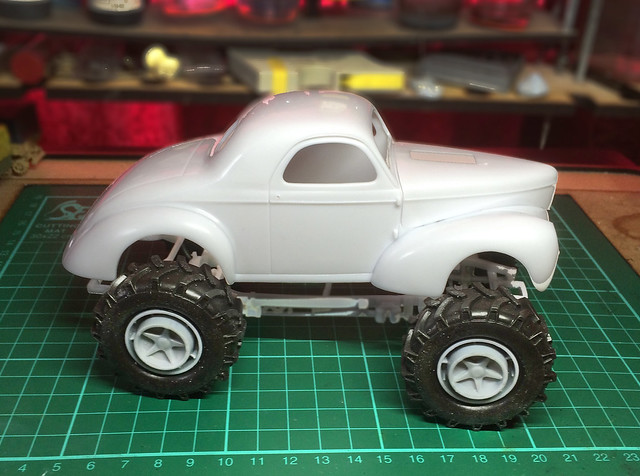 |
| I want the body to fit onto chassis, not sit high like this as if it was a monster truck! This means I will have to enlarge the wheel arches...A lot! |
So, hopefully, the next time you see this I will have the body on...Now, where's my Dremmel!
Next: Main bodywork modifications for 'Mad Max' them and painting the chassis and wheels.
No comments:
Post a Comment