So, first things first, I need to work out how much I need to trim off the existing wheel arches to get the fat wheels to attach to the axels.
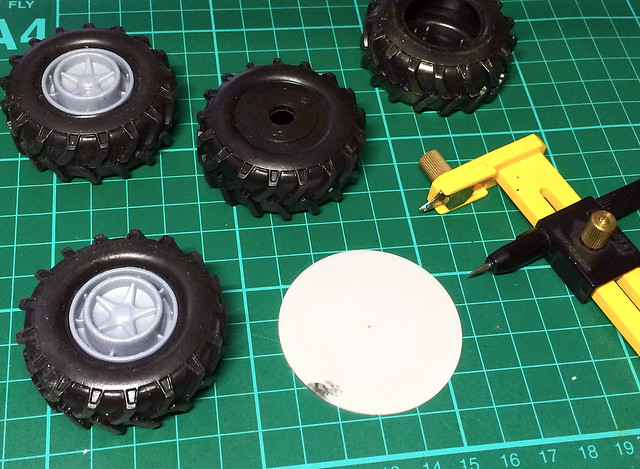
Rather that trying to draw round the new tyres (with their knobbly tread) I decided to make a template disc - the same diameter as the new wheels - and fix it on a extension to the axel so I knew the disc was perfectly centred...
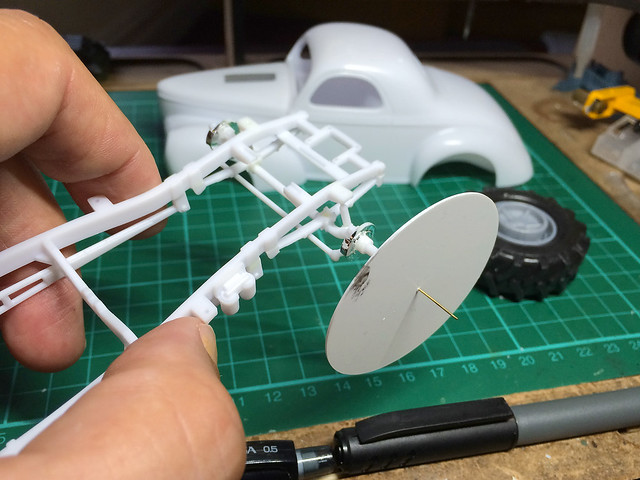
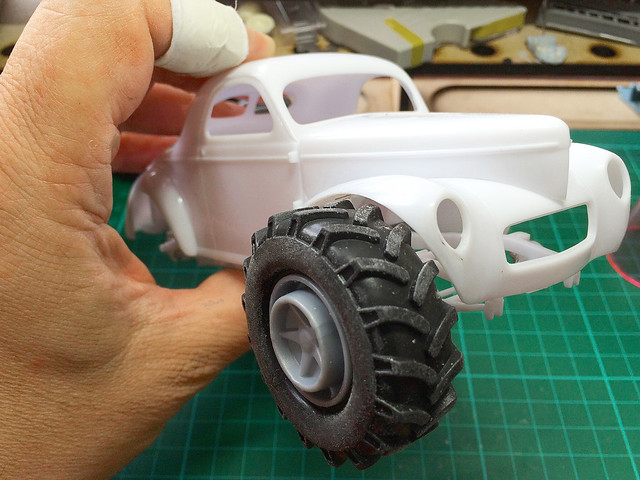
I could then attach the body shell onto the chassis and get a perfect idea about where and how much plastic I would have to remove from the wheel arches....
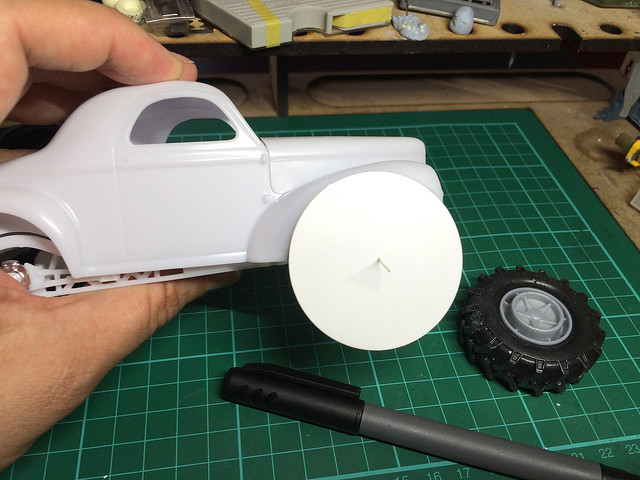
And finally, it was just a case of drawing around the template. This would provide me with an accurate guide indicating where I should trim off the excess wheel arch...
And now the scary part!
No matter how careful you think you are being you still have a nagging worry that you are going to mess up and cut too much or in the wrong place or slip and ruin the bodywork completely!
So, trying not to tremble, I carefully used my Dremmel (with a cutting disc) to slowly trim away the unwanted plastic up to within a couple on millimetres of my guide line. After that I will file and sand up to the line...

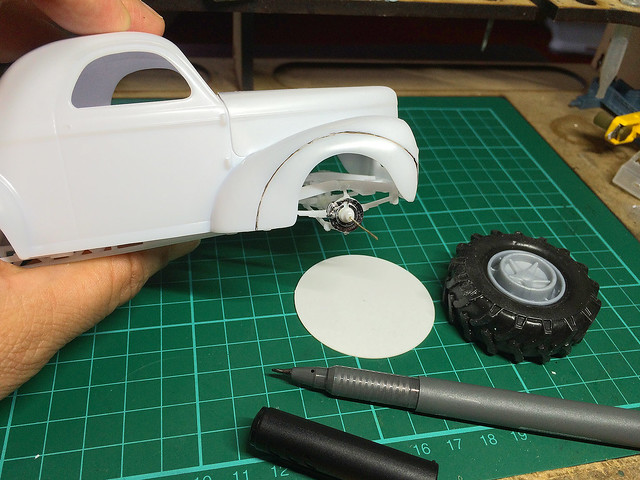
Well, nothing goes quite to plan...It turns out that my big new wheels are very big indeed and to get enough 'breathing space' around them I had to remove far more of the wheel arch than I expected. I also will have to think about raising the bodywork up off the chassis slightly (a minor job).

There was a lot more trial and error involved in this modification than I had imagined there would be. I had to keep checking the fit and then trim a bit more and a bit more off the body. But, finally, I managed to get an acceptable size and shape of wheel-arch that accommodated the big fat tyres!
It looks a bit mad...But that seems appropriate to the nature of the project. So, having done one wheel arch I now have three more to go. Phew!
Next: Finishing the chassis and mounting the engine.
No comments:
Post a Comment