Back to making some forward progress (as opposed to whatever I was doing before)! Anyway, I feel I'm back on track again with my Battle of Berlin vignette and am continuing to work into the painted detailing now.
The first stage was to lay down my flat areas of colour ready for what you might call the 'weathering' effects to be applied. I finally decided on what colour to paint the lintels and window sills, based on a nice reference photo I found of a partially destroyed building from Dresden. I thought the red-brown colours would lift the diorama and compliment the brick-work (my alternative was to go with shades of mint-green to contrast with the terracotta bricks, but in the end I thought this would be a bit too much)...
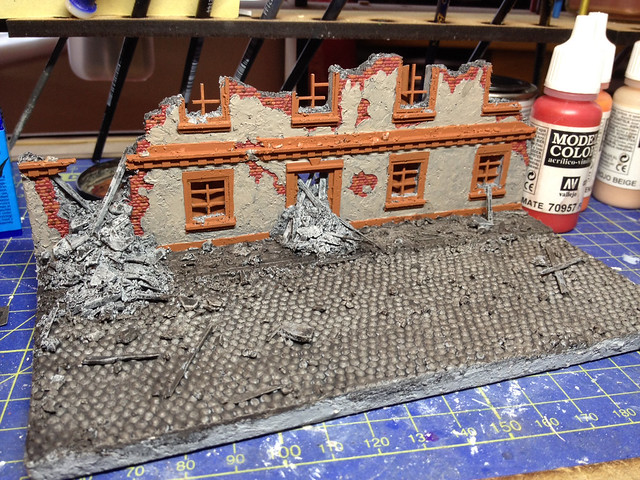
Were I doing a vehicle I would say - as mentioned - that I was now on the 'weathering' effects stage. All the usual techniques are employed in the usual order - pin-washes, dry-brushing and some highlighting...
Dry-brushing tones down the bright re-brown paintwork a bit, which is good as it makes it look a bit faded and weather-worn. it also adds a little highlighting to the edges of the ornamentation which gives the detail some additional definition.
NOW...I begin to work into the painting and detailing of the rubble itself. I don't want it all being just a dirty grey - there would be bits of painted wall and wood and bricks in the rubble - but also I want the rubble to stand out against the pavement and the street.
I'm still a little unhappy with the street cobbles, I think they are still a little to light coloured - I really want a darker slate grey effect. So I had a go at darkening them down with some conte crayon dust.
Hopefully I am on the home straight now with this - some more little details and colouring and I can start thinking of mounting the ISU-122 in place!
Diary of a novice scale model maker and his adventures in the wacky world of Braille Scale.
Showing posts with label buldings. Show all posts
Wednesday, 20 November 2013
Monday, 11 November 2013
Battle of Berlin vignette, Part 6
I decided to start the painting stage of my Battle of Berlin back-drop with a pretty heavy black wash. I wanted to get a lot of 'dirt' into all the nooks and crannies. For a change I used a Humbrol matt enamel and made a very thin wash using quite a lot of thinners.
My plan is to lay down dry brushed coats on top of this, so I wanted the darkest layer first - with all the little cracks and crevasses heavily shaded. To be honest - as usual - I am just playing this all by ear, but I figured it was best just to slap on the wash and see what happened...
I don't think it's too bad a start - I kinda want a 'dirty' looking vignette. The wash worked particularly well with the plaster wall...
Now, I think I will start by dry-brushing the building's wall, pavement and road and then I will start painting the detail with a little more care.
My plan is to lay down dry brushed coats on top of this, so I wanted the darkest layer first - with all the little cracks and crevasses heavily shaded. To be honest - as usual - I am just playing this all by ear, but I figured it was best just to slap on the wash and see what happened...
I don't think it's too bad a start - I kinda want a 'dirty' looking vignette. The wash worked particularly well with the plaster wall...
Now, I think I will start by dry-brushing the building's wall, pavement and road and then I will start painting the detail with a little more care.
Thursday, 7 June 2012
Featured work - Regeln des Krieges foam board buildings
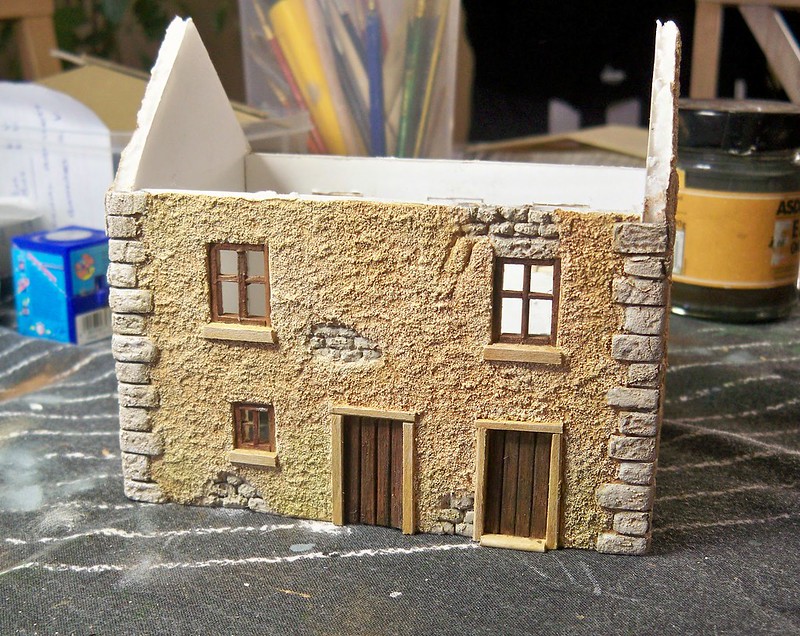
Since my last visit to Bob Peyton's amazing war gaming lair I have been interested in having a go at building a foam board building (or two) of my own. But while there is no lack of inspiration, technically I am a bit lost as to how to start and progress with such a project.
Well, I came across the Regeln des Krieges blog today and the author has done a wonderful series of posts about making foam board buildings from scratch!
His village houses are ideal templates for a D-Day project and are just the sort of dwellings you might see in Normandy. I love the way the modeller has kept everything stripped down and simple - almost like a movie set.
If you follow this link you can track back through his process on the blog: Regeln des Krieges (Rules of War) foam board buildings
Well, I came across the Regeln des Krieges blog today and the author has done a wonderful series of posts about making foam board buildings from scratch!
His village houses are ideal templates for a D-Day project and are just the sort of dwellings you might see in Normandy. I love the way the modeller has kept everything stripped down and simple - almost like a movie set.
If you follow this link you can track back through his process on the blog: Regeln des Krieges (Rules of War) foam board buildings
Wednesday, 6 June 2012
Featured work - Scratch built MG bunker
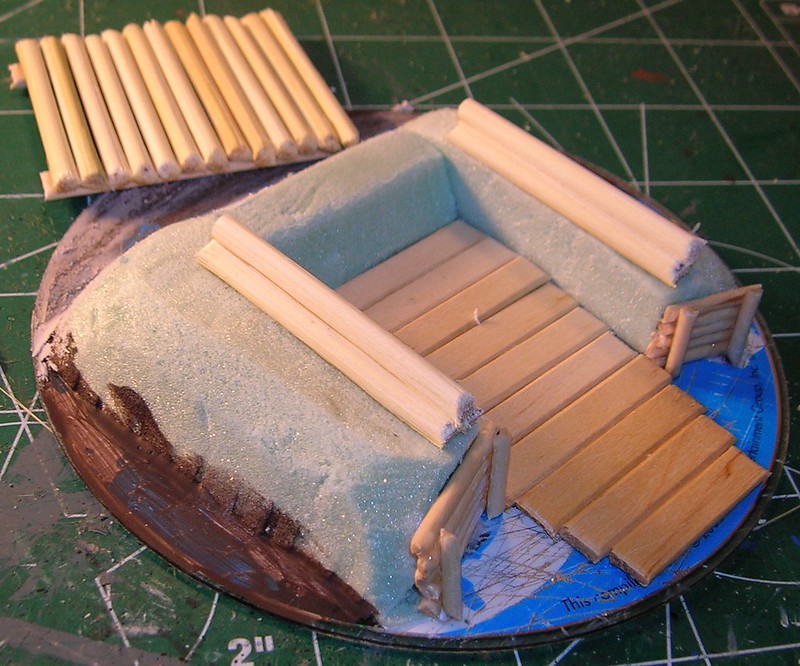
Having enjoyed making my log gun emplacement so much I wondered what else I could do like it for my little Finnish army. So it was really nice to come across a tutorial on making a log MG bunker over at The Command Tent Blog.
I love the way that the roof is removable so you can place - or remove - the weapon and crew of your choice. I guess you can fit in a heavy MG, Panzerschreck team or light AT gun.
It's a really good tutorial and takes you through step by step and I will be giving it a go. Additionally, it's a nice little design which can be modified to make different bunkers - an observation post, AA position or mortar pit springs to mind. Or you could 'go large' and make a command post.
Check the tutorial out here: My Take On A Scratch Built MG Nest by Dan
I love the way that the roof is removable so you can place - or remove - the weapon and crew of your choice. I guess you can fit in a heavy MG, Panzerschreck team or light AT gun.
It's a really good tutorial and takes you through step by step and I will be giving it a go. Additionally, it's a nice little design which can be modified to make different bunkers - an observation post, AA position or mortar pit springs to mind. Or you could 'go large' and make a command post.
Check the tutorial out here: My Take On A Scratch Built MG Nest by Dan
Saturday, 26 May 2012
Featured work - Emmanuel Nouaillier's buildings
I think what puts this featured work into context is that when I brought this photo up on my screen even my wife - who has no interest in models whatsoever - was impressed and asked me whether they were models or real!
After my last visit to Bob Peyton's lair I started to put my mind to making scale buildings out of foam-board and Emmanuel Nouaillier's tutorial just happens to be one of the first search results that pops up in Google. Emmanuel's extreme level of detailing - where bricks and cobbles are scribed individually - is perhaps over the top for the average war gaming prop, but you have to admire this masterpiece of modelling.
See more wonderful finished photos and follow along with the excellent tutorial by clicking here: Emmanuel Nouaillier's 'Making buildings from foamboard'.
Subscribe to:
Posts (Atom)