 |
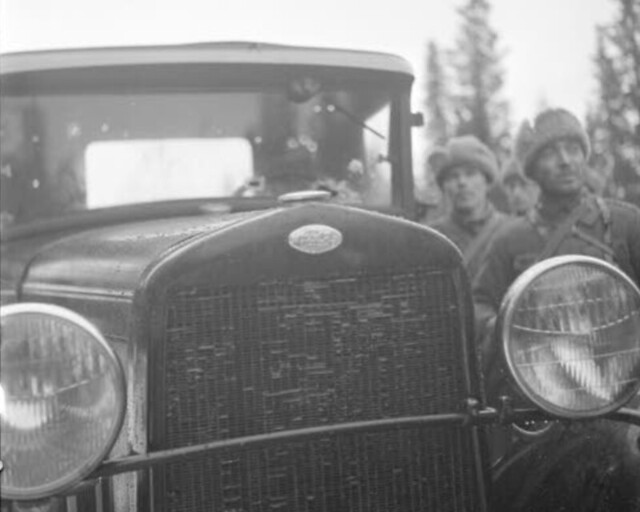
| The Finns 'liberated' their Gaz trucks from the Red Army. In this case the driver was persuaded to vacate his vehicle with the help of three bullets. Source: SA KUVA |
So let's go through them...
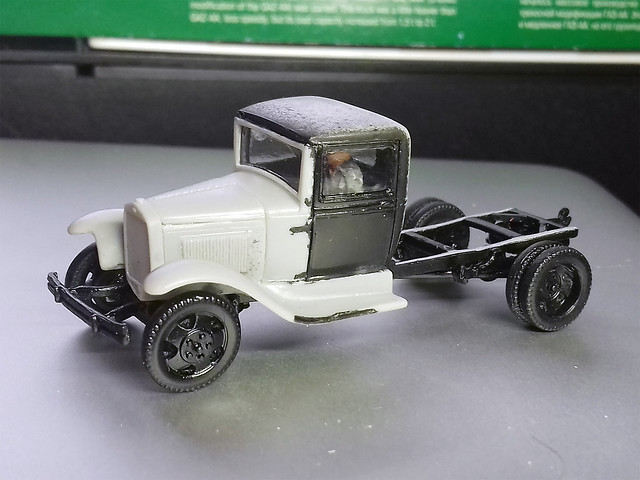
1. The Cab - Interior Painting
This is the one sub-assembly that I am 'doing my own way' principally because I am adding a driver figure. The MW kit cab was not designed with the inclusion of a driver in mind and that caused all sorts of fit problems.
The upshot is that my inclusion of a driver has pretty much mangled the cab interior - which does come with a certain amount of detail which I cannot now include. Therefore, to hide my ham-fisted modifications I am 'blacking out' the cab interior so it is less noticeable from the outside (once the cab is put together).
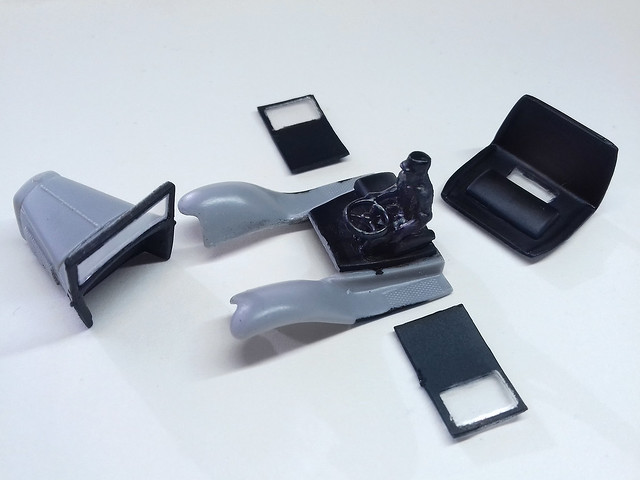
All I want is the faint impression of a driver to be just visible through the windshield. The black interior making the figure a shadowy one (in theory).
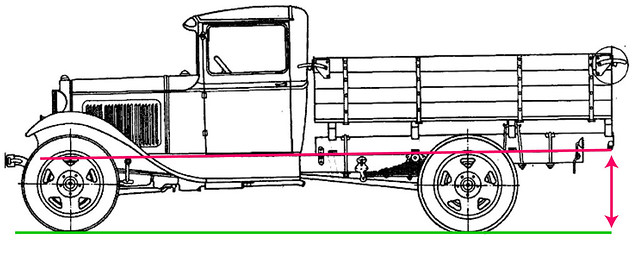
2. The Chassis - Bumper
As it was there was too little space between the wheels and the bumper in this kit (they were nearly touching each other). So, I extended the length of the bumpers 'braces' by adding a couple of millimetres of brass rod.

I used the 'Engines of the Red Army in WW2' website for reference, they have a page devoted to the Gaz AA and you can see the correct spacing for the bumper: ERAW2 - GAZ-AA, 1½-ton 4x2, Cargo Truck.
Also, note - when you look at this reference - that the back of the truck is raised slightly on its rear suspension. This is something that isn't clear in the instructions, and - as I did at first - you might think that the chassis should be level, but this isn't the case...
3. The Tilt Canvas Scratch Build
I've made canvas truck covers before and there are many different ways to do them, with many different kinds of materials. I'm tinkering with some balsa wood to make the canvas cover supports and will put something like masking tape over this to form the basis for the actual canvas itself...
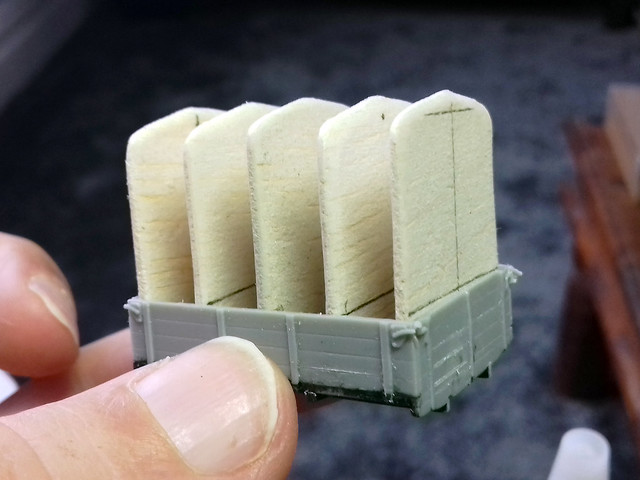
Over the top of the masking tape I might (I haven't decided yet) wraps some PVA soaked tissue paper to get the canvas texture and wrinkles...We shall see.
Over the top of the masking tape I might (I haven't decided yet) wraps some PVA soaked tissue paper to get the canvas texture and wrinkles...We shall see.
4. Wheely Necessary?
The last sub-assembly/s are the wheels. As I mentioned in my first post on this project, the MW wheels aren't terrific. Not only is there no outer tire tread pattern, but the holes in the hubs on the rear wheels are filled in. I guess I could have tried to drill these out, but I am opting to paint the 'holes' black instead.
The last sub-assembly/s are the wheels. As I mentioned in my first post on this project, the MW wheels aren't terrific. Not only is there no outer tire tread pattern, but the holes in the hubs on the rear wheels are filled in. I guess I could have tried to drill these out, but I am opting to paint the 'holes' black instead.
5. Note on 'Windows'
The inclusion of transparent plastic parts for the kit is a great idea and for the majority of modellers they may 'do'. However, the transparent plastic parts aren't altogether clear and there is some distortions and blemishes that come with cheap transparent plastic. The 'windows' are also quite thick.
If you are a 'display modeller' you might want to replace these parts with - I'm sorry to say - acetate cut to size. They will be clearer and a better - more realistic - thickness. For me, the MW 'glass' will do fine.
The inclusion of transparent plastic parts for the kit is a great idea and for the majority of modellers they may 'do'. However, the transparent plastic parts aren't altogether clear and there is some distortions and blemishes that come with cheap transparent plastic. The 'windows' are also quite thick.
 |
| The 'glass' is a little distorted and unclear in places, but I may camouflage this by adding a layer of 'dust' and muck on the windscreen! |
The 'glass' in place and coated with Klear, it was now - finally - the time to close up the cab...
It looks a little messy as only parts of the model are primed, hopefully, it will all come together in the next stage when I apply the base coat of Light Olive (fingers crossed)!
Postscript: I actually made some progress on getting the base coat on the cab and some preparatory weathering on the chassis...

No comments:
Post a Comment