 |
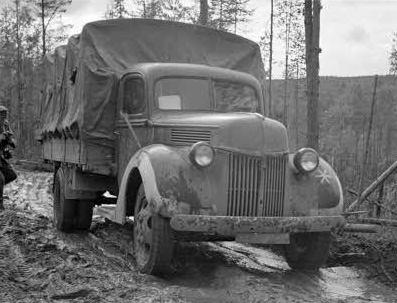
| Source: SA KUVA No. 69976 |
Now I won't go into the history of this vehicle and why it ended up such an important vehicle to the Finns as I've done that twice already, suffice to say that it's prominence has encouraged me to seek out the best model I could find.
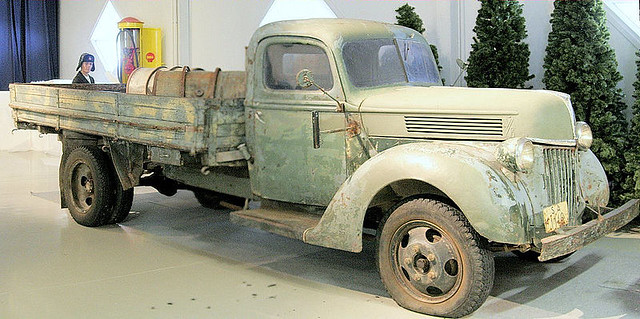
Left: A very interesting contemporary photo of a Ford V3000S in use in Finland in 1942. What's so interesting is that this isn't a Finnish Army example but is in use by the Wehrmacht. Although the German Army used the V3000 - produced by Ford-Werke factories in Cologne and Berlin - they also pinched a shipment of American Ford V3000s intended for the Finns, and this appears to be one of them. You can tell it's an American V3000 instead of one of the German ones because of the split windscreen (the German ones has a single piece windscreen). Er, so I gave you some history anyway! Sorry.
My search for an accurate 1/72 kit of the Ford V3000S led me to two candidates, and expensive short-run resin kit by Hunor of Hungry and a cheaper resin conversion kit by ModellTrans Modellbau of Germany.
The ModellTrans conversion - the easy option?
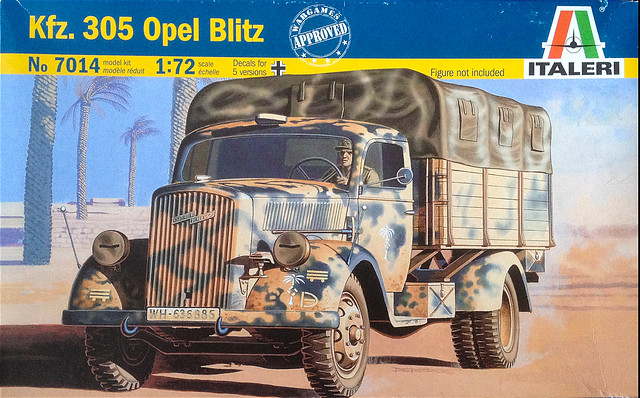
In the end I took what I thought would be the easy - and cheaper - option and bought the conversion kit which was designed (in theory) to be combined with the Italeri/ESCI Opel Blitz kit to make a reasonable V3000 model.
Unfortunately when the kit arrived - from the Czech Republic - I found that the cab was damaged and that both the windshield pillars were broken and missing. I guess I should have sent it back but who knows who was to blame, so I decided to see if I could fix it myself.
The incentive I needed to actually mend this kit came when I finally came across the Italeri kit which would supply the recommended donor chassis. This Italeri kit is actually an old one and was originally made by ESCI, as such it's not one of the best best Opel Blitz models anyway - but the one I found was very cheap.
Construction
The construction is quite straight forward really, I started by building the Italeri Blitz chassis. It's a simple kit with a limited number of parts (it's marketed for wargaming). I did have a few little niggling problems with the parts, however, and I certainly think you could do better if you actually do want a Opel Blitz in 1/72. The suspension is suspect and the tyres and badly moulded with exaggerated tread and injection marks on the outside which destroys some of the detail.
The construction is quite straight forward really, I started by building the Italeri Blitz chassis. It's a simple kit with a limited number of parts (it's marketed for wargaming). I did have a few little niggling problems with the parts, however, and I certainly think you could do better if you actually do want a Opel Blitz in 1/72. The suspension is suspect and the tyres and badly moulded with exaggerated tread and injection marks on the outside which destroys some of the detail.
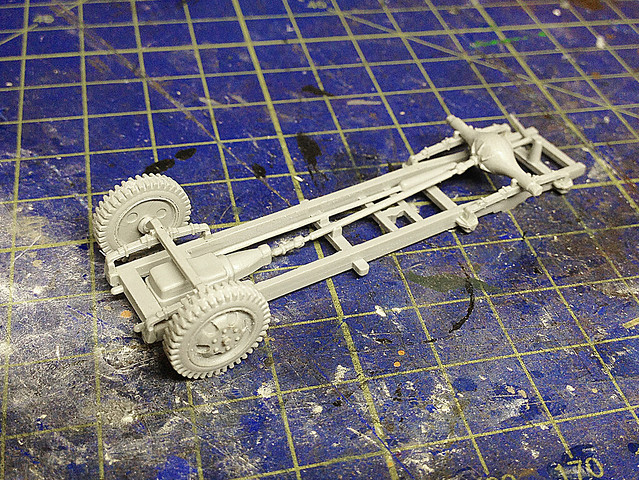 |
| The Italeri chassis, simple but suspect (the rear axle seems to sit too high). |
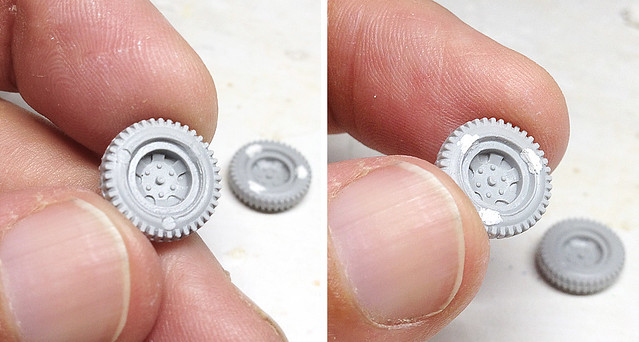 |
| I had to repair the obvious injection marks by using some Milliput. |
Once the chassis was completed I tried a test fitting of the ModellTrans cab kit and was very disappointed to find that the two two halfs of the conversion didn't seem to go together easily or precisely. The cab sat precariously on top of the Italeri chassis - I began to doubt whether the Italeri kit was, indeed, the correct donor model (but I double checked the ModellTrans information and it quite specifically mentions the Italeri/ESCI Blitz)!
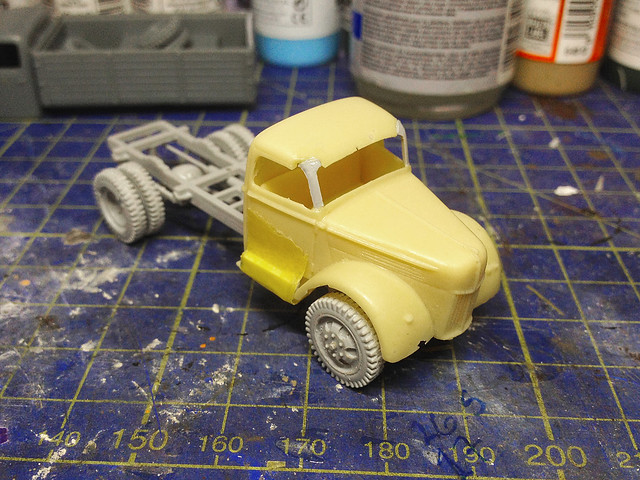 |
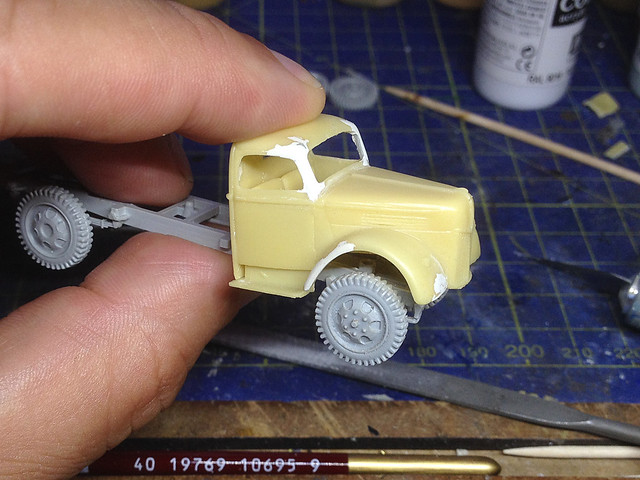
| Perched on top of the chassis you can see the start of my repairs to the broken roof pillars. I now have to think of a way to fit the cab correctly. |
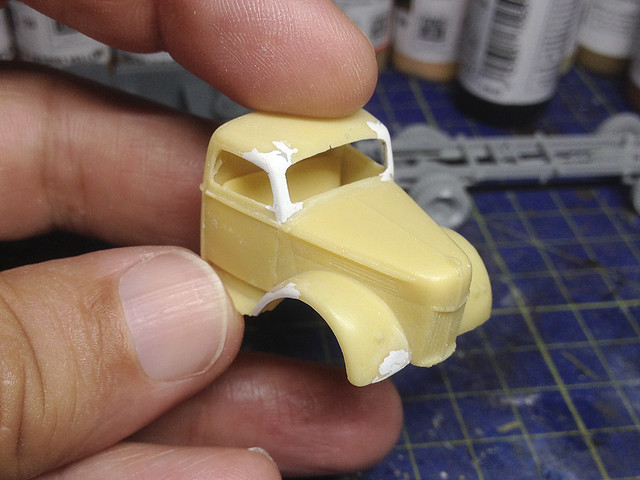
Pausing to think just how to fit the cab to the chassis I turned my attention to the cab's broken roof support pillars. I started by gluing in the similar pillars from the Italeri Blitz kit, but these weren't - predictably - exactly the right shape. But they were useful as reinforcing guides onto which I could add some Milliput modelling putty.
I decided to lay on the putty quite thick with the idea that I would sand back this rough pillar to a finer shape when it dried. Not for the first time I cursed the postman who crushed my model and caused me all this hassle.
I used Milliput Superfine White, which as the name suggests gives a very smooth finish when filed and sanded. I am a bit of a Milliput fan but it does have it's downsides - compared to 'green stuff' - such as it's comparatively long drying time. I like to do any Milliput jobs last thing and then leave the job to completely 'cure' through the night before sanding.
While I was at it I added some putty to other parts of the resin cab that were in need of treatment. There were a couple of little cracks and holes that resin kits are prone too, but nothing serious. The pillars sanded down nicely, although I had to guess at the intended shape and just went for something which looked right.
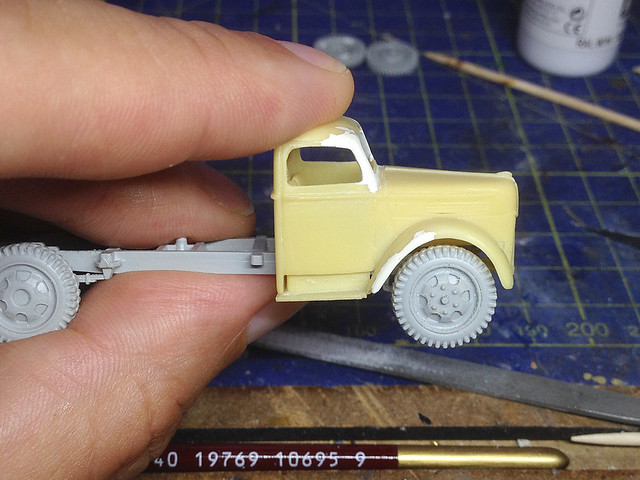
That done I now returned to the vexing question of the cab's attachment to the chassis. It was clear that the ModellTrans cab sat far too height on the Italeri chassis AND that some of the chassis parts actually stopped the cab sitting level - the wheel arches were far too high above the wheels. Something would have to go!
 |
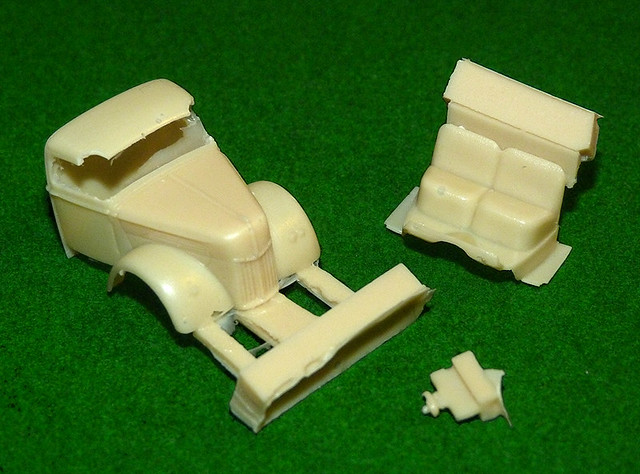
| As it stands the ModellTrans cab components just don't sit snugly onto the Italeri chassis. The problem are the seats. |
What seemed to be the problem was the cab seating component, which sits inside the cab and on top of the chassis. The seats were stopping the cab from dropping onto the chassis nicely, I reckoned about half the depth of the seating would have to be removed so that the cab dropped sufficiently. So, I sawed away at the seats - as you can see in the accompanying photo.
It was a pretty drastic piece of surgery but I couldn't figure out what else to do. Once done, however, the cab did seem to be sitting properly over the wheels (maybe even a bit low, looking at my reference photos, but it;s easy to re-level and build the cab back up again now it's sitting level).
However, that's not the end of the story. I have to work out how to attach the cab securely to the chassis now. Once that is done, and the seating is glued permanently in place, I can spray the base coat onto the chassis/seating before painting the inside of the cab in detail (I will have to find an appropriate driver figure).
Next: Cab final assembly and base coat. Then adding the cargo flatbed.
My thoughts so far: Well, obviously this is not the 'easy option' I thought it was going to be. I'm very disappointed that the kit was broken, but even more annoyed that the fit was not as straight forward as it should have been.
As you can see from my pictures this has very much been a case of 'fudging' the assembly - cutting and fitting until things fit to an acceptable standard. I'm not overly impressed.


Hello, for two years we pour itself. Such failures no longer occur.
ReplyDeleteSORRY
ModellTransModellbau