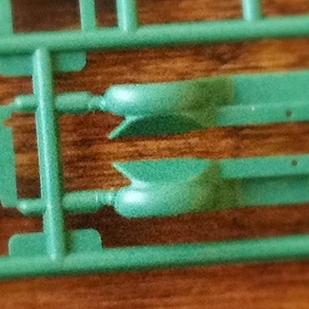
What looked like nice clean and crisp component parts turned out to be a little sloppy when it came to construction. Everything that came off the sprues seemed to need a little filing to clean them up and make them fit -- not big job you understand and everything did fit, but just niggling little preparation.
As mentioned in the in-box review f this kit there are a number of additional parts and this did indeed cause some little confusion in the construction. No sooner had I started sorting out the various parts for the wheels and axles that I ran into two little problems, the bigger of which was that I could not locate the axles!
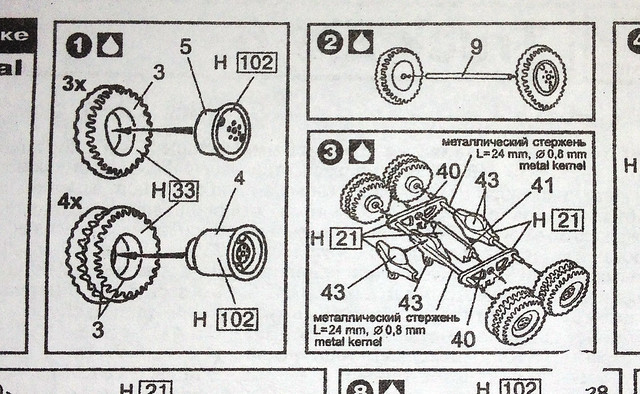
You see the instructions are largely pictorial, but do have - frustratingly - the odd important notation in Russian! So I hunted for parts that looked like they were axles - basically plastic rods (I thought) - only to realise after some time that the little Russian notations in panel (2) of the instructions were - in fact - telling me that I had to cut my own axles out of some metal rods (of my own)! Grrrrrrrr!
...And then, as if things weren't confused enough there was the little matter of the part numbers - like those shown in the instructions above - or should I say the lack of them...
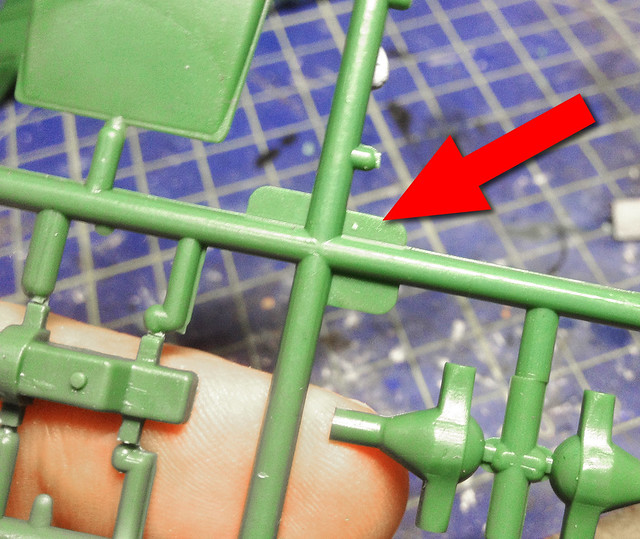
No, I haven't got the sprue the wrong way around - the part numbers just aren't there!
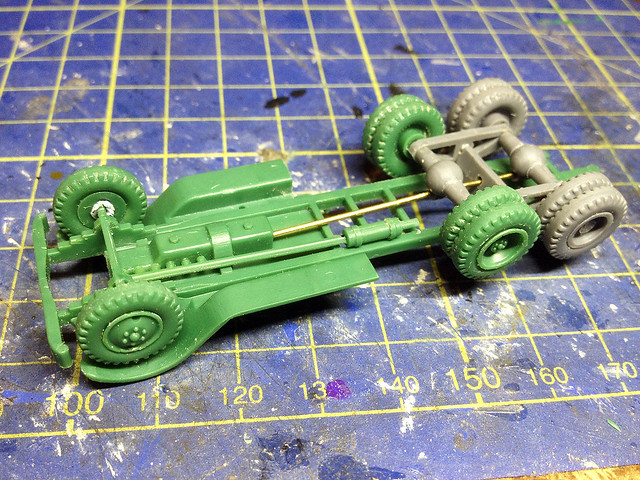
Still, these were only minor - if somewhat annoying - hiccups and I soon muddled my way through the construction of the wheels, axles and rear suspension...

Note the mixed colours of the parts, the green wheels come from the basic ZIS-5/V sprue (see in box review) and the gray parts are from the ZIS-6 sprue. The DIY 'axles' are some lengths of scrap brass rods I happened to have (luckily).
The wheels themselves are - as you can see - one-piece plastic components which is good and bad. Bearing in mind the horrendous experience I had with my ACE BA-10 kit's vinyl tyres I was somewhat relieved to have plastic wheels, but there again there is not so much detail on these plastic 'tyres' and no tread pattern whatsoever. :(
Now on to the chassis, but - again - there is a little niggle which seeks to frustrate the modeller.
Are PST trying to upset me? This was - after all - supposed to be a simple and straight forward build!
Well, the chassis turned out to be a bit more straightforward with no real surprises, which was nice. Though there were some more brass rods required, but at least I now knew what the Russian notation meant in the instructions so wasn't confused by the absence of suitable parts on the sprues.
I decided not to glue the wheels onto the axles permanently yet as I want to be able to spray these parts individually before final assembly. Similarly I haven't glued on teh mud-guards either, as I want to spray the chassis black and the fenders green and having them separate will make this easier.
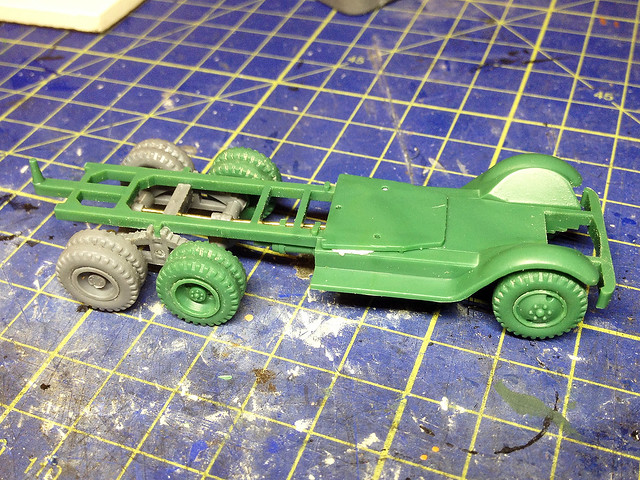
Well, that's that. Aside from the slight confusion regarding the addition of your own axles by means of some brass rod it was all pretty simple. Though there will still need to be some tidying up when I glue together everything permanently - and balance the rear wheels on their axles too so they are perfectly level.
Next: The cab and the bonnet.
No comments:
Post a Comment