Painting the Prop Revolver...
Because the cylinder included additional detail - such as the bullets in the chambers - I had to begin the base coating by spraying this part first before installing it...

But before finishing of the rest of the frame in the black I would have to mask off the grips - which I will be giving a wood effect finish. I began by sketching out where the frame and grips would be before applying the making tape...

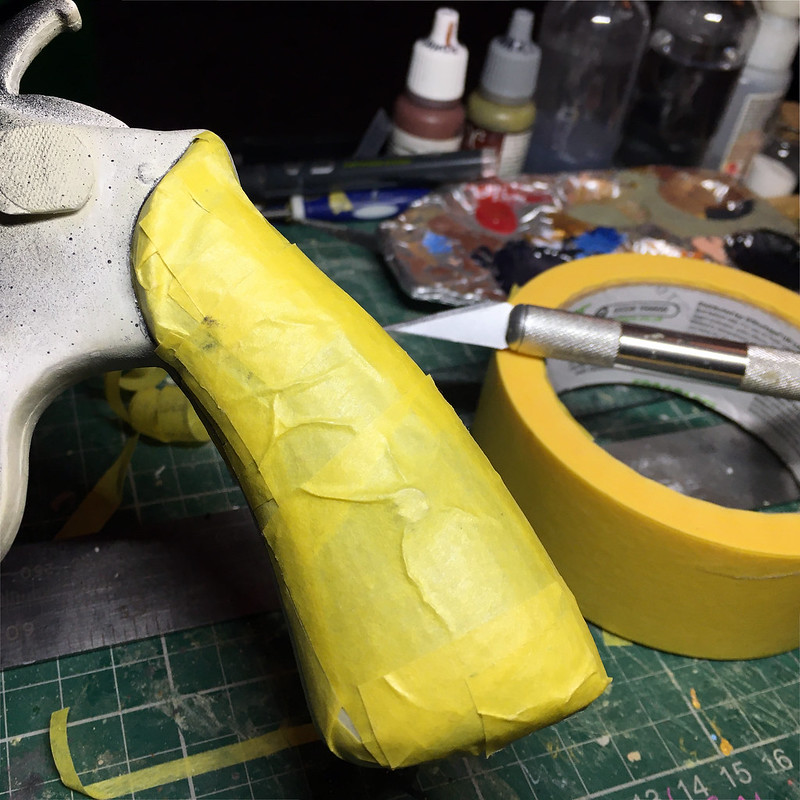
Now, the astute among you will probably be saying 'why didn't he spray the wood colour base coat before he masked out the frame'? Good question, and the simple answer is that I don't have the right colour brown at the moment but want to crack on with the job! 😖
One of the down-sides of this current lockdown is that I can't just pop out to my local hobby shop, most of my stuff has to be ordered from Amazon (if they have it). The consequence of this is that when the correct brown spray arrives (and I did toy with the idea of just hand painting it) I will have to re-mask the revolver again to spray just the grip!
Anyway, moving on quickly... 😑
SO, I sprayed the frame - I'm kinda disappointed that my airbrush is out of action at the moment so I'm having to resort to using a rattle can spray BUT because the surface of this print is so uneven (despite my efforts) I'm thinking the extra thickness of basecoat is probably a good thing! 😉

This gives me the basic black I need to start to build up a metallic look and that's what I'll be testing next as well as - hopefully - working on the 'wood' grips!
No comments:
Post a Comment