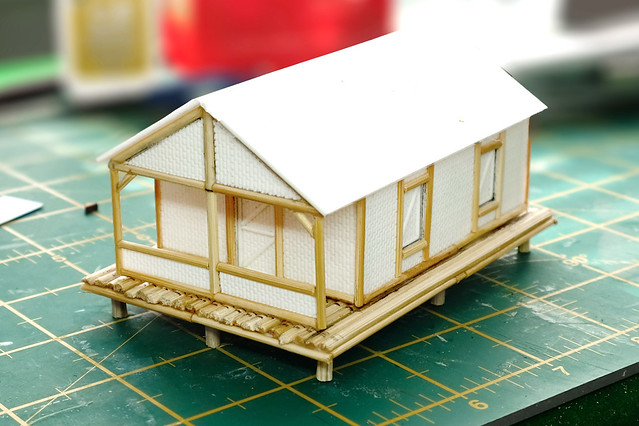
 |
| Quick addition of a couple of rectangles of styrene card to get an idea of some of the dimensions of my hut's roof. |
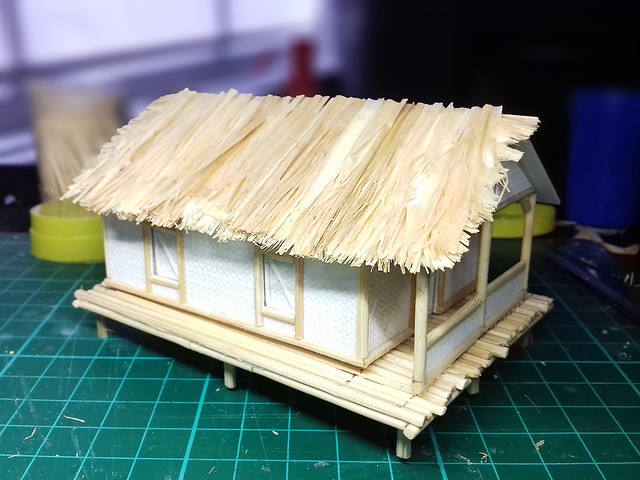 |
| A little too 'Tiki Bar' for my liking! |
And sooooo...After looking at several interesting YouTube tutorials on the various way that you can model thatch, I am plumping for the following technique...
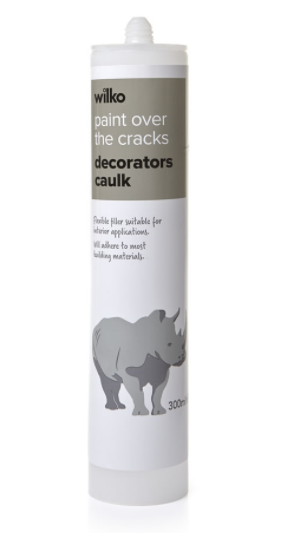
First question (if you are a Brit) may be 'what the heck is caulk'? Now, caulk does exist - much to my surprise - as a recognised British term, I just haven't heard it before (but plumbers and DIY enthusiasts will have). In fact - ramble alert - it is a historically old term which goes back to wooden ship building I believe...Anyway...
These days it is more normally known as an acrylic sealant and can be picked up really cheaply at Wilkos or other hardware stores (the one pictured on the left is just £1, but you will also need to buy one of those metal glue-pushing gun thingies if you don't have one).
Note: I've been told - on the Terrain Tutor's FB Group - NOT to confuse this product with silicone sealant. Acrylic sealant is easy to paint over, while silicone isn't.
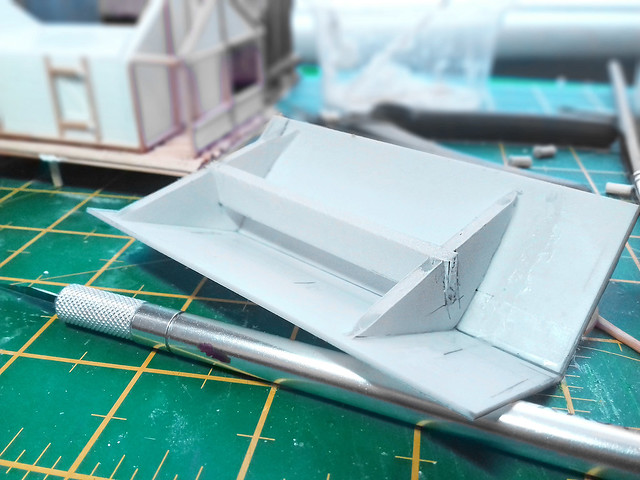
So, before I squirt any caulk in anger, I must make my roof's basic framework. A few bits of plasticard should suffice, as I want a reasonably thin base, but I think that thin card might warp or deform with 'wet' caulk smushed all over it.
The good thing about a very simple base like this is that if things go wrong with my caulk-ing then I haven't lost much...
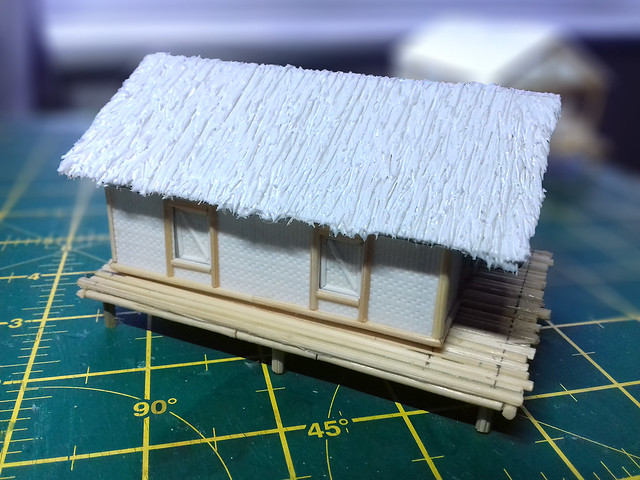
Now, the 'trick' - if you can call it that - to engraving a thatch pattern in caulk is to use a sharp cocktail stick and you will also have to keep cleaning the point as it soon builds up a blob of caulk on the end. So keep drawing you sharp lines and then keep wiping your point clean and you will end up with this (it isn't rocket science and there is no great knack to it)...
One of the good things about caulk - which, by the way, is the consistency of very thick yogurt - is that if you aren't happy with the way things are going you can just wipe it smooth and start again. It takes a while to dry so it remains wet enough to work with for a good amount of time.
Next: Well, hopefully, I can get the three houses for my Island village primed and ready to weather. Though I still have to think about the best way to base them.
Excellent !
ReplyDelete