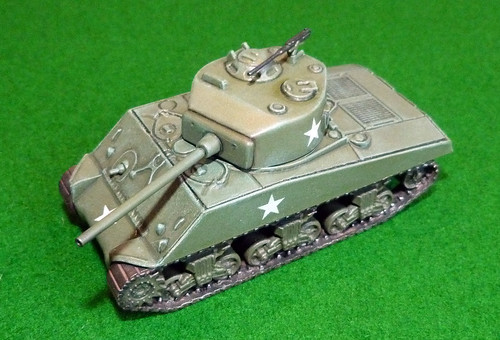
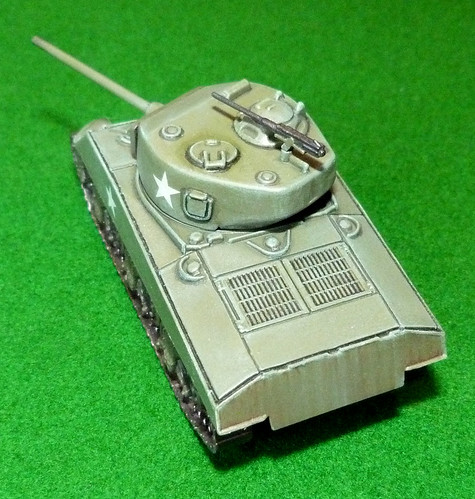
Well, I guess I could say 'job done'! This is the very first model I have completed since I was a teenager.
In the end I decided 'less was more' and took it easy with the weathering - I could actually do more here (and probably will, using this test model to practice other new techniques). I could have applied chips and scratches, or done more grime streaks, or I could have applied dirt and mud, but I have decided that this is as much as I initially want to do...


CONCLUSION
OK, this is my first model since I started the hobby again this year, so there's loads of room for improvement. But as an experiment and icebreaker just to get me from start to finish it has achieved what I set out to do...I'm now not so afraid of slapping paint on plastic!
The biggest revelation for me was the use of oil paints for the highlighting and weathering. The effect was subtle and very controllable - I was very pleased with this and will use this technique again.
I also had a second go at the pin-wash - which I wasn't happy with initially - and tried out the 'washing-up liquid and acrylic' technique this time and am a lot happier - especially as this was a great way to avoid the staining that I got with an acrylic wash on it's own.
The tracks with their metallic dry-brushing went well too - although I did prefer using a graphite pencil to get a smooth and controlled finish. But what I enjoyed most of all was applying the grime streaks on the rear hull - another first!
No comments:
Post a Comment