
The background for this is my interest in solo role playing - I'm a fan of the Lovecraft Mythos horror - and unlike group RPGs it's somewhat harder to 'get into the spirit' of the game so heavily based on atmosphere as is a Mythos 'investigation'.
 |
| 'Call of Cthulhu' is one of the most popular Lovcraftian Mythos RPG systems and it includes a nice solo scenario which is my preferred means of playing. |
(For those of you not familiar with a Mythos RPG - like 'Call of Cthulhu' - it's part horror and part detective story. Think of Scooby Doo if it were directed by Wes Craven!)
Anyway, to get into the mood some solo players like to 'dress' their game table with some suitable and relevant 'props'. In my case I am collecting a few items reminiscent of a 1930s private eye - hence the S&W 'Detective'-style revolver (I'm a big fan of the 1930's hardboiled detective movies)...
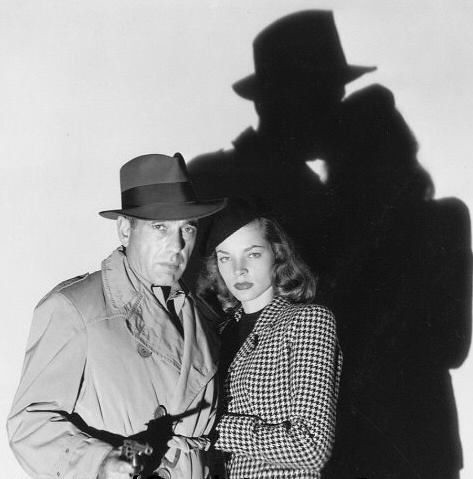
Trouble Is My Business...
3D Printing a model is - for a novice like myself - can be a bit of a challenge in itself, but as this will be a prop it will add an extra modelling dimension to the project. After printing I will be painting the model and trying to achieve as realistic looking effect as I can - I'm just not quite sure if my painting skills are up to it. We shall see...
To begin, I found the model I wanted on THINGYVERSE (well, I actually wanted a Colt Detective .38 but the S&W was the next best thing). The model isn't very complex and looks like it was 3D scanned so the texture is a little janky, but passable for a prop...

On the positive side, as the picture above shows, the model files included to versions of the S&W Model 10, the standard 6 inch barrel version and the 2.5 inch 'snub' which I want.
Not having so many parts to print has it's pros and cons. The model was quicker to print the parts there were (4) BUT it does mean that it is somewhat less detailed and, of course, there are now working parts. [There is another more complex model which is a true multi-part model with all the real revolvers main components as separate objects for printing. But this just comes as the 6 inch version.]
3D Printing Strategy...
As I learned from my recent Athena bust print having the ability to print as one or a few pieces maybe nice but I found I could squeeze a little extra quality out of the file if I sub-divided some of the more tricky parts using the slicer software. Doing it this way - breaking down the model - also meant that I was less worried about having to use a lot of print support and that they might not work.
So, I decided to cut the main revolver frame into two halves for printing...

However even this proved to be a little complex as the revolver's cylinder included the chambers and the bullets and this caused some unforeseen problems and the chambers fouled up with excess filament and there was a defect in the cylinder itself. Still, the rest of the frame turned out not too bad...

So, my solution to this - and so as not to waste a lot of the print - was to reprint the cylinder as a separate component and additionally slice it into two halved so I could get the best detail out of the chamber and bullets...

And so, this is what I ended up after a couple of days of printing (I printed at the best quality to see if I could alleviate the rather rough surface texture)...


Print Cleanup...
Now the tedious bit, a long session of trimming of flash and sanding out any rough spots before gluing the halves of the major components together AND THEN even more sanding to smooth out the joints and seam lines.
Funnily enough, I'm still not 100% sure what type of glue is the best for sticking PLA parts together. I've been using super glue to play safe, but I must look this up. The good thing about super glue is it can help fill seams between joined parts.
 |
| Using Milliput putty to fill defects and gaps. Here I have printed a new catch as the original was badly formed, I have also applied a thin layer of Milliput which I then ran a knurled handle over to create checkering. |
I'm finding that PLA isn't the easiest material to sand, not like kit plastic or resin, and too heavy abrasion can end with breaking down the fibrous layers that the 3D extrusion comprises of. So, you have to be careful, filling and sand is preferable.
And this is where I am at at the moment, continuously finding small blemishes and uneven surfaces that I feel I have to attend to. In the meantime, however, I'm starting to think about how I might paint the finished model. I have several possibilities of finishing techniques but I also have a couple of alternative finishes I could go for - gun-metal blue or nickel...
 |
| Dare I take a stab at a nickel finish? ...Er, maybe not! |
In preparation for the assembly of the model I did 'dry' test assembly first, just so I could plan how I would put the separate components together as I may have to add some supports of some kind...

I identified a couple of potential problem spots and decided I it would be best if I added a rod that would pass through the frame and cylinder to hold it in place properly. Otherwise, there doesn't appear to be any major issues.
NEXT: In part two of this project I will begin to paint the assembled model.
No comments:
Post a Comment