 |
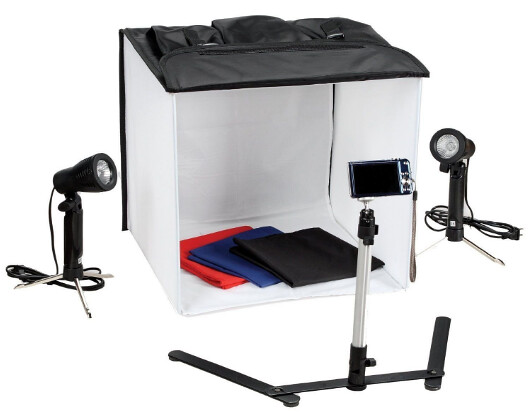
| My little 'mini studio', OK to begin with but now I've outgrown it. |
Though, as well as the increase in technical complexity I have also been having a lot of problems getting the right light for close-up photography.
Improving my 'mini studio'
To begin with, I bought myself a relatively cheap 'mini studio' - a small backdrop tent and a couple of continuous lamps. I hoped this would give me the consistent light I needed, and to some extent, it was adequate with the very forgiving focus and exposure of the iPhone camera.
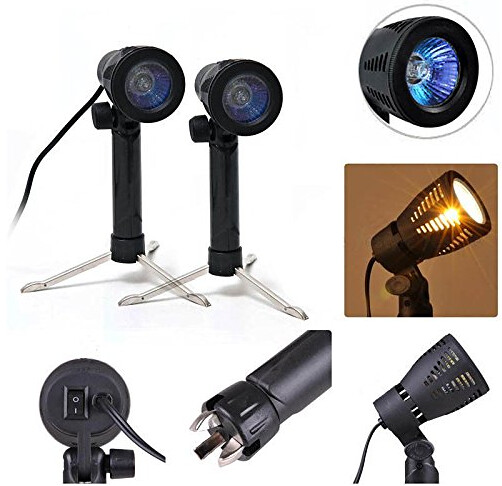
The issue is the lamps. They are cheap little contraptions which run halogen bulbs and this set-up has two major disadvantages - the light levels are not adjustable and the bulbs get very (very) hot!
These lamps also produce a very bright and intense light which is a little too harsh and uncompromising for my little models and their delicate detail. So I had been considering upgrading the lamps to a nice set of dimmable LED panel lights (of a type I use in my video work), but this seems a little over-kill as the one good thing about my cheap halogen lamps are the are so compact and easy to store.
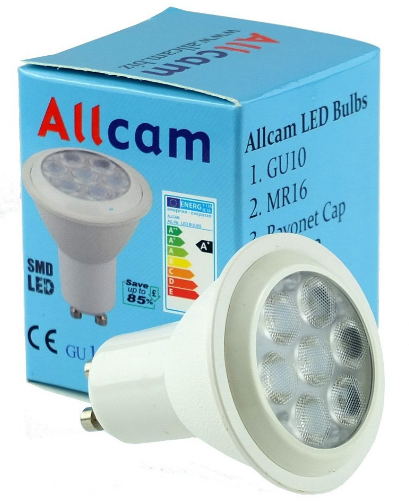
Well, I hit upon a compromise when I discovered that you could buy an LED bulb that fitted the bayonet mounts that my little lamps use. This would solve the heat problem - allowing me to leave the lights on longer - but they still would not be dimmable.
Left: 7W Ultra Bright GU10 LED bulbs of the type that will fit my little mini studio lamps. There are various makes and power outputs. the ones I bought were by Philips and cost £3.50 each.
What I needed was some sort of diffuser or 'soft box' for my LED lamps, to control the intensity of the light given out. I reckoned I could make a little light shade or some sort, with some semi-opaque material over the front to soften the light. (I could not even consider using any form of diffuser material with the mini lamps while they used halogens, not unless I wanted a nice little house fire!)
Making a 'soft box' for my lamps
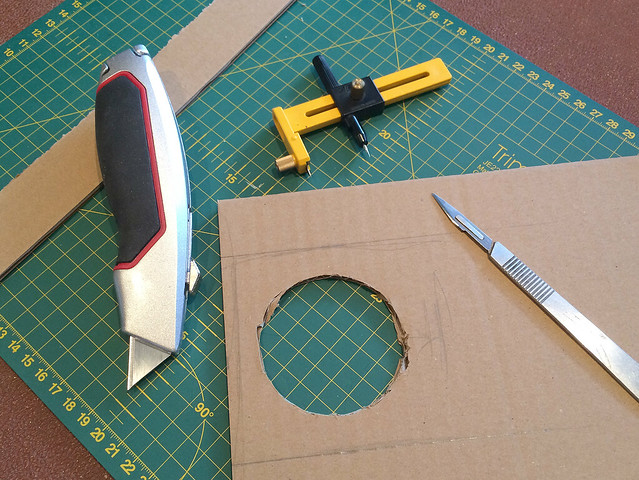
I decided to have a go and make a simple prototype to try out the idea. The simplest material I could think of to knock up a test design for my mini 'soft box' was box cardboard, if that worked I could always look for a better material later - but, for now, I just wanted to see if the idea was feasible.
So, off we go...
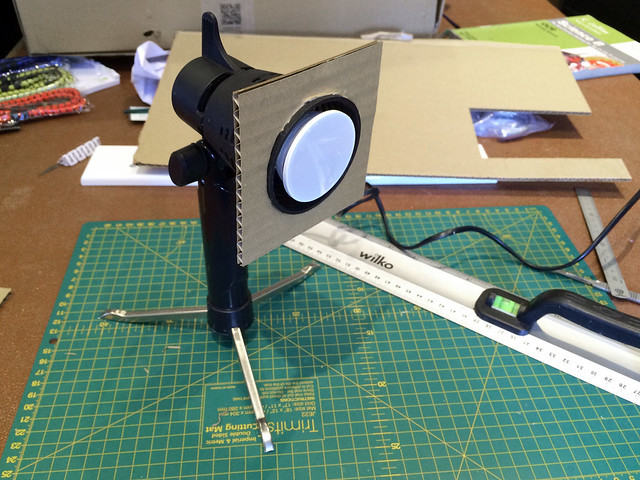
Good start - it fitted snuggly enough - but now the tricky bit, the 'cone'...
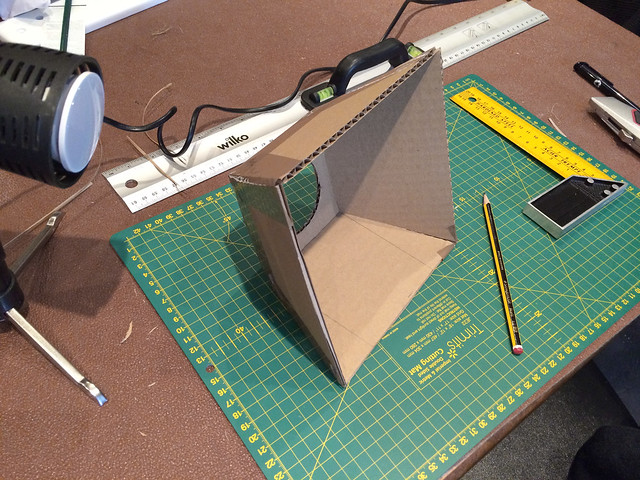
Well, it looks the right shape. But how will it look when I fit it to the lamp?
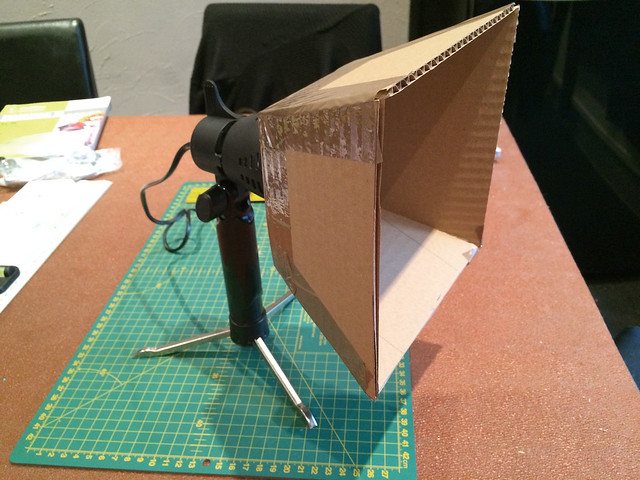
Not bad! Maybe a little big, but I can always modify the size in my next version - presuming this prototype works.
Next: I'll pause here as I now need to find a suitable material to act as the diffuser. Some sort of thin white nylon or maybe even a square of baking paper, maybe? I'll see what I can find in town...

The tracing paper used by seamstresses perhaps?
ReplyDeleteThat sounds like good idea! I'll get a selection of materials to try and it would be good to work out a way to make them detachable. At least this is a cheap project! :)
DeleteLooks nice! I hope you can solve your problem!
ReplyDeleteGreetings
Peter
I'd line the inside surfaces with a reflective material. Kitchen foil is good if crumpled up first. It both reflects and diffuses the light so that more light comes out the front rather than being absorbed. Mylar is also a good reflector and its textured surface also diffuses the light avoiding 'hot spots' which you can get with a smooth reflector.
ReplyDeleteIan.