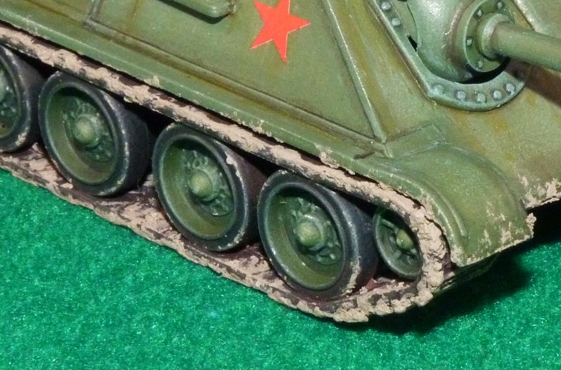
You may have to take my word for it but the texture of the 'mud' I used - Tamiya's weathering sticks - wasn't quite right, especially for the 1/72 scale. I actually had one of my readers comment on this. But muddy tracks is such a basic technique in AFV modelling that I wanted to get this effect right, so I'm having a second go.
So, I did some research (referenced some YouTube videos) and plumped for a combination of tips on painting tracks supplied online and in a useful book I bought called 'Small-Scale Armour Modelling (Modelling Masterclass)' by Alex Clark..
A new product I am trying out - which I picked up in the ModelZone sale - is Vallejo's effects pigment. Normally I wouldn't buy this as it's expensive for what it is and a similar effect can be gotten cheaply by grinding up Conté crayons or pastels into dust. But this 'pre-potted' solution effectively saves me the messy grinding process!
Basically, my recipe for muddy tracks goes like this:
1. Start with a base coat of black on your tracks...
2. I then apply a very thinned wash of acrylic Khaki all over...
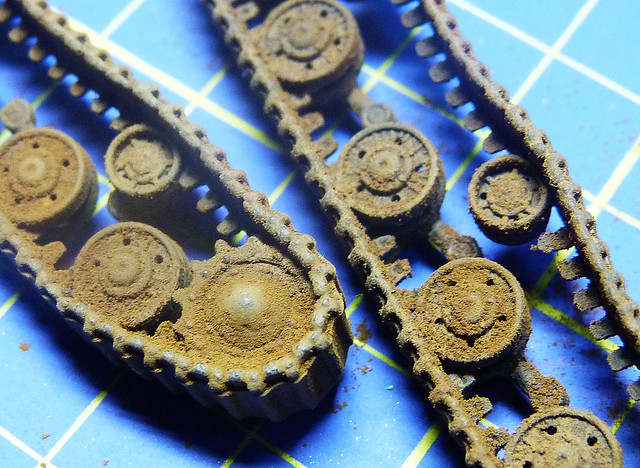
3. While the thinners is still slightly damp I dust the tracks down with a generous cloud of the pigment...

Alternating the effect
Now, I was going for a VERY muddy effect, but the 'mud' can be modulated to be less thick or a different colour mud to suit your chosen environment. I wanted a red clay type of mud so I used Vallejo's Natural Umber powder, but the powders come in a range of earth colours (likewise if you use the cheap Conté method you just choose the crayon colour you want).
 |
| What Scot's call 'clarted' in mud! |
If you want a thinner layer of 'mud' you simply use less powder and you can also dust off any excess with a brush as the thinners dries off.
Now remember, the powder is only held on by thinners, it is not fixed permanently. To do this you will have to give it a spray with something like matt varnish. At this point you can then add other track effects like metallic highlights or any additional washes that you might want...
And there you go, heavily muddied tracks. A lot better effect this time than my first attempt with Tamiya weathering sticks. Importantly I think the effect matches the scale, and the 'clumps' of mud aren't too big.
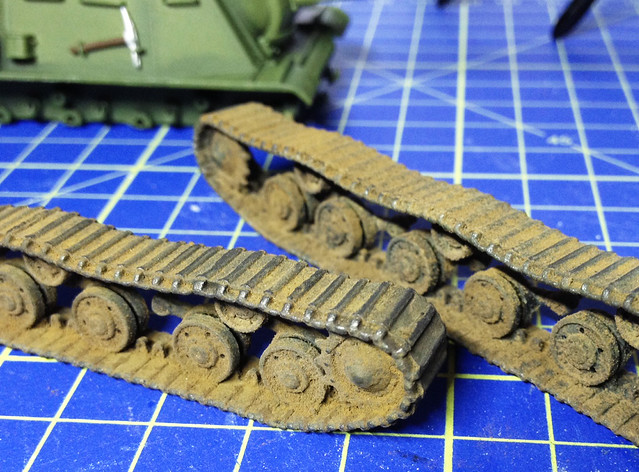 |
| A graphite pencil was used to give the metal tracks a metallic shine. Also, I used some dark brown wash between the track links. |
You can review all the related posts in this project by clicking
on this Complete Series Link.
Very nice tutorial, thanks for the tips! I use Vallejo matt varnish, then I sprinkle the pigments while is still wet.
ReplyDeleteNice technique- I think I shall give it a go on my own kits.
ReplyDeleteCheers,
Pete.