 |
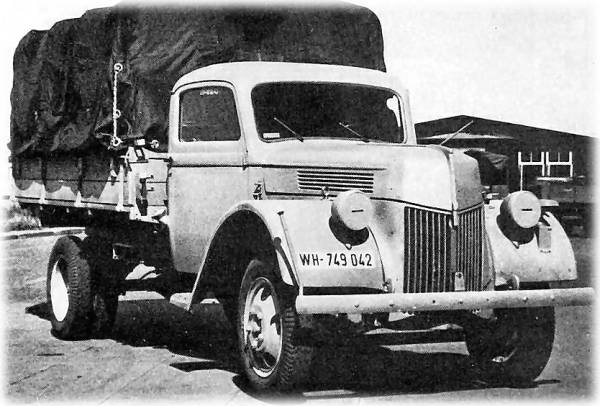
| Picture source: Engines of the Wehrmacht |
To be honest I just couldn't resist tinkering about with one to make the one-piece model more like the multi-part kit that I am using for my Finnish army project. But, having said that, I still wanted to do this with as little fuss and as quickly as I could...So some sort of compromise was in order.
What I decided to do - in essence - is as little as I possibly could to complete this model. Just enough to satisfy my aesthetic sensibilities, but without the normal fiddly and time-consuming alterations that typify my normal conversions. So without further ado, let's get going...
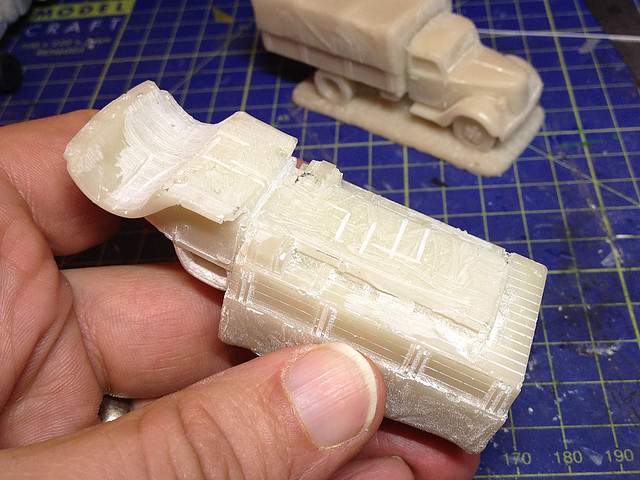
1. Let's get rid of that one-piece integral chassis and base...
What I have in mind is to replace the one-piece wheels with as set of wheels made from one of my kits. In the same way that Moonlite Modelwerkes makes it's resin trucks...
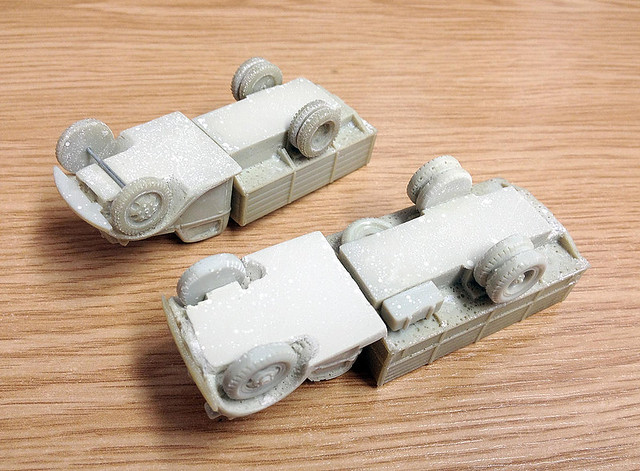 |
| Moonlite Modelwerkes makes their wargaming models 'free standing' by adding a set of resin wheels to the 'one-piece' body. |
2. I next alter the other characteristic feature of one-piece 'ready to roll' wargaming resin trucks - the filled in cab and solid windshields...
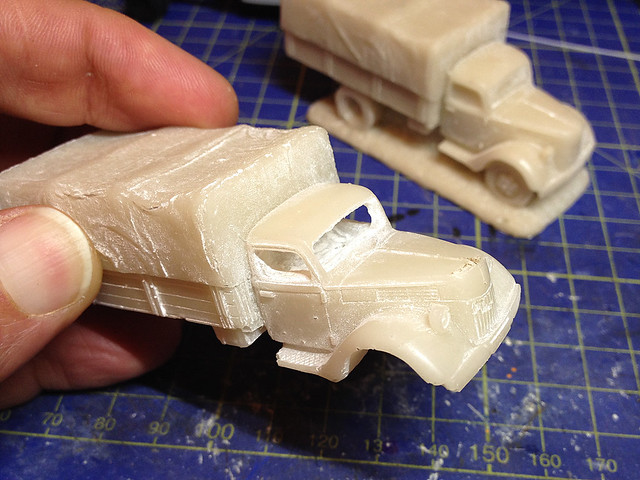
This is a wee bit tricky and demands a steady hand. Basically I carefully drill out the solid insides of the cab using my trusty Dremmel. I will have to finish off the edges of the windows by hand to make sure I don't destroy any of the nice detail and - of course - I cannot excavate all of interior. What I will end up with is an empty area at the top half of the cab, from the dashboard to the roof.
However, if I paint the interior a dark colour and then dirty up the windows I intend to fit then you perhaps won't notice the interior isn't all there. Hopefully.
OK, moving on quickly - I next will make my new chassi and add the wheels.
No comments:
Post a Comment