 |
| A very nice example of the Finnish 3-colour camo done right(ish). While being nicely applied there is some question over the use of the 'buff' colour, which is supposed to be a 'grey' colour but opinions differ (even among experts). Picture source: Stephen Brezinski, www.onthewaymodels.com |
 |
| My very first attempt at 3-colour Finnish camo was with this poor old Pegasus KV-1. What a mess! A mix of bad masking and too thick an application of spray paint. |
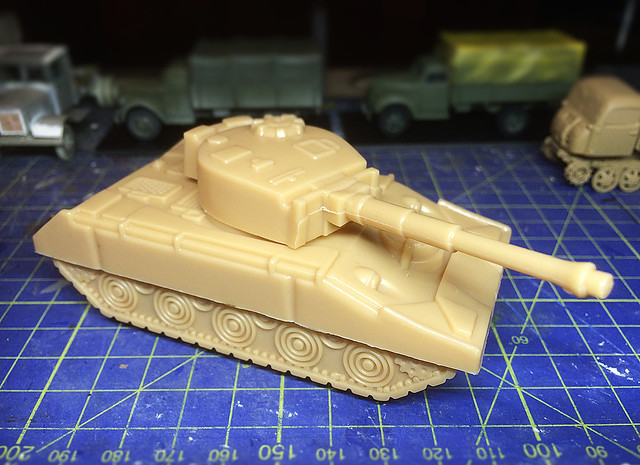
I picked up a pack of plastic soldiers and tanks at my local Pound Store as the tanks included in the cheap and nasty play set looked like they might has some merit for just this sort of painting experiment. The tanks were hardly accurate or complex models, but in this case that suited me fine...
Now, to nitty gritty. World War 2 Finnish Three-Colour camoflague is described repeatedly as having been 'grey, brown and Moss Green' in various reference publications, typical of these is this description in Osprey's 'Tanks of Hitler's Eastern Allies 1941-45' [Page 38]...
"In the spring of 1943, the summer scheme of dark green overall was superseded by a three-color camouflage scheme of moss green (~FS 34083), grey (~FS36306), and sand brown (~FS 30040). In spite of its official name, the sand brown was in fact a dark brown." [www.ospreypublishing.com]The mis-application of buff instead of the grey by so many modellers is a little baffling. I *think* the confusion may have come about for two reasons; first the designation of 'sand brown' which people mis-interpreted as being the lightest of the three colours used and secondly because in certain light the richness of the dark brown may have made the grey look a 'warmer' shade (in art and design this effect is called simultaneous contrast).
The situation has not been helped by the illustrators of reference books (and even some armour museums) perpetuating the mistake by painting the grey as a 'sand brown'.
 |
| This is a typical example of the confusing colour advice that is out there for Finnish 3-colour camo. This 'authentic' paint set by Lifecolor clearly denotes the use of 'UA 244 Harmma No1 Grey' and yet look at the colour swatch for in the refernce chart (and the light shade in the camo on the StuG). |
Last word: Confused? Well, please refer to this reference page on Andreaslarka.net for both a level of clarification AND also a nice example of the simultaneous contrast effect (and poor lighting) at work. Is it a light creamy-buff or is it grey - you decide! (Hint: Compare the 'grey' that's next to the brown and then compare it again when it's next to the green.) Link: Finnish T-34 m1941 # Ps. 231-1 reference photos.
Anyway - that conundrum out the way, lets talk painting....
I decided to use both toy tanks from the set so I could try out variations in techniques. So teh first job was to base coat the little blighters.
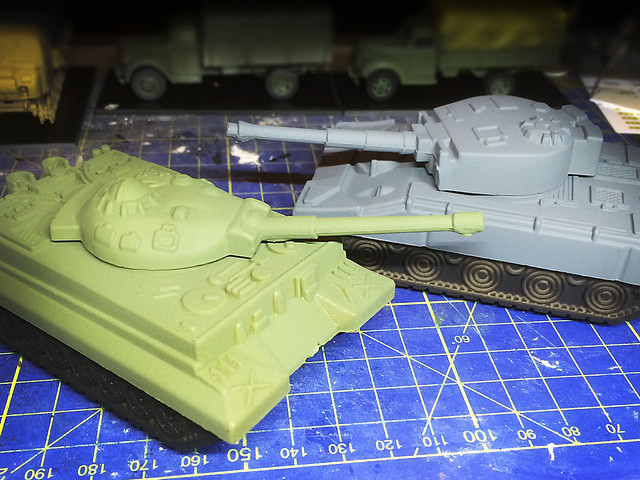
The plan is to use the BluTack masking technique on the grey panzer (for a soft edged effect) and a straight forward masking tape method for the green tank (for a hard edged look).
I have a few pictures of Finnish three-colour camo patterns to use as guides for how I arrange my masking materials on the tanks....
 |
| A Finnish T-28 in 3-colour camo. Picture source: Armchairgeneral.com |
BluTack and masking tape at the ready!
Technique 1 - Masking tape/hard edge
OK, green tank gets the masking tape method. I mask off to spray one colour at a time (in this case I ready to spray the grey layer)...
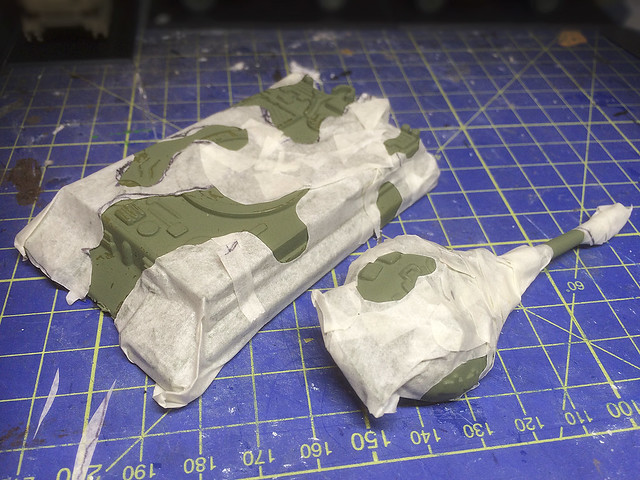
I will spray, then remove the masking tape before masking for the final colour - brown. This should produce a clean hard edge between the colours - looking at the reference I have it seems the Finns painted hard edges to their camo patterns so this method should be more authentic.
Technique 2 - BluTack/soft edge
Grey panzer (it's supposed to be a Tiger turret I think) get's the soft edge approach. In this method I mask out to spray the brown layer, but instead of removing this mask when done to apply the next mask I simply ADD another mask on top of parts of the brown layer I want to keep and then spray the green over the areas I leave unmasked.

The rounded edges to the BluTack masks should help produce the soft edge when spraying. Although this isn't perhaps appropriate for Finnish armour I want to practice spraying a soft edge 3-colour camo (as I have a German StuG in the pipeline).
Next: The second and third of the camo colours and the un-masking!
You may like these:
ReplyDeletehttp://s626.photobucket.com/user/drtemplar/media/Airfix%20Magazine%20vol%2015-17/am15-5.jpg.html
http://s626.photobucket.com/user/drtemplar/media/Airfix%20Magazine%20vol%2015-17/am16-2.jpg.html