I painted the inside of the engine nacelles and then put the haves together...Not the best match. I would dry fit these if you try this model and work on filing the shape of the circular intake and exhaust ports before committing to glue.
The clamping is necessary if you want to close up the seam tightly. But I foresee plenty of sanding to merge the seams and match the halves precisely.

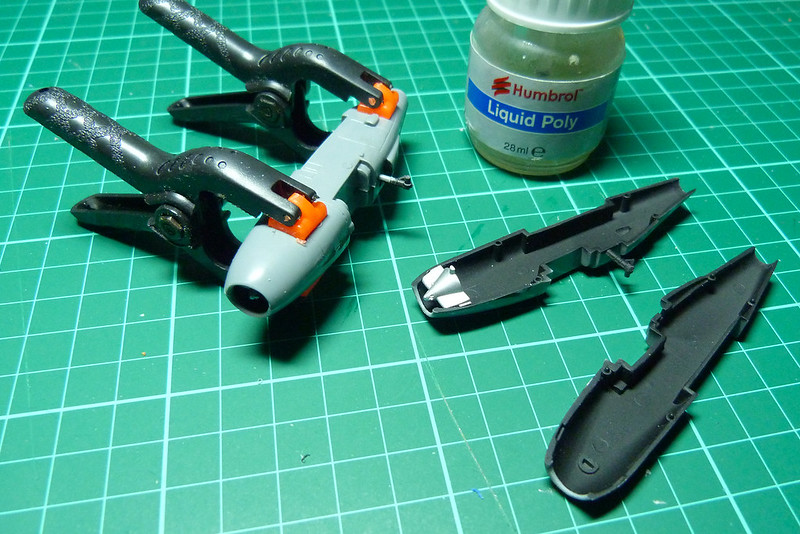
While the nacelles dry I began work on the fuselage, again I painted the inside (cockpit green instead of the recommended flat grey). There isn't a lot of detail in the cockpit - no dials and what not - and there is no pilot, so you are sort of nudged gently towards making this a grounded aircraft (further encouraged by the landing gear set in the down position by default).
In order to accomodate a landed plane some ballast is provided in the form of two steal balls. These sit in the forward compartment and should balance the model out when sitting on its undercarriage (hopefully).
You are provided with a moderately detailed bomb bay, should you wish to model your aircraft with bomb doors open. But as my aircraft is the Finnish target towing variant I shall have the bomb doors closed (so no painting of the bombs).

Glued and clamped the two fuselage halves go together OK, but there is - once again - a bit of mis-matching which will require some sanding to smooth out some of the joins.
Next will be the mounting of the engines onto the wings and then fixing the wings to the fuselage. But I will be smoothing out the engine seams before I do that! Quite work intensive really, but for £3 I guess there has to be some sort of catch.
Nice progress and a god price.
ReplyDelete